Test the application
In this part of the tutorial (since you have already subscribed to the application) you will get some guidance on how to test the SaaS sample application from a Consumer perspective.
Please make sure to conduct the steps of this chapter with a tenant user that is assigned the Susaas Administrator role. You will learn how to create another Tenant user having a regular Susaas Member role within this chapter.
1. Go to Application
Go to your Tenant Subaccount and click on Instances and Subscriptions. Login using the Tenant administrator user you have created in step 3.5. of Subscribe a Tenant Subaccount.
If you are already logged in to the application, you can open the application in incognito mode to log in with a different user.
After login you should see the home page as shown below.
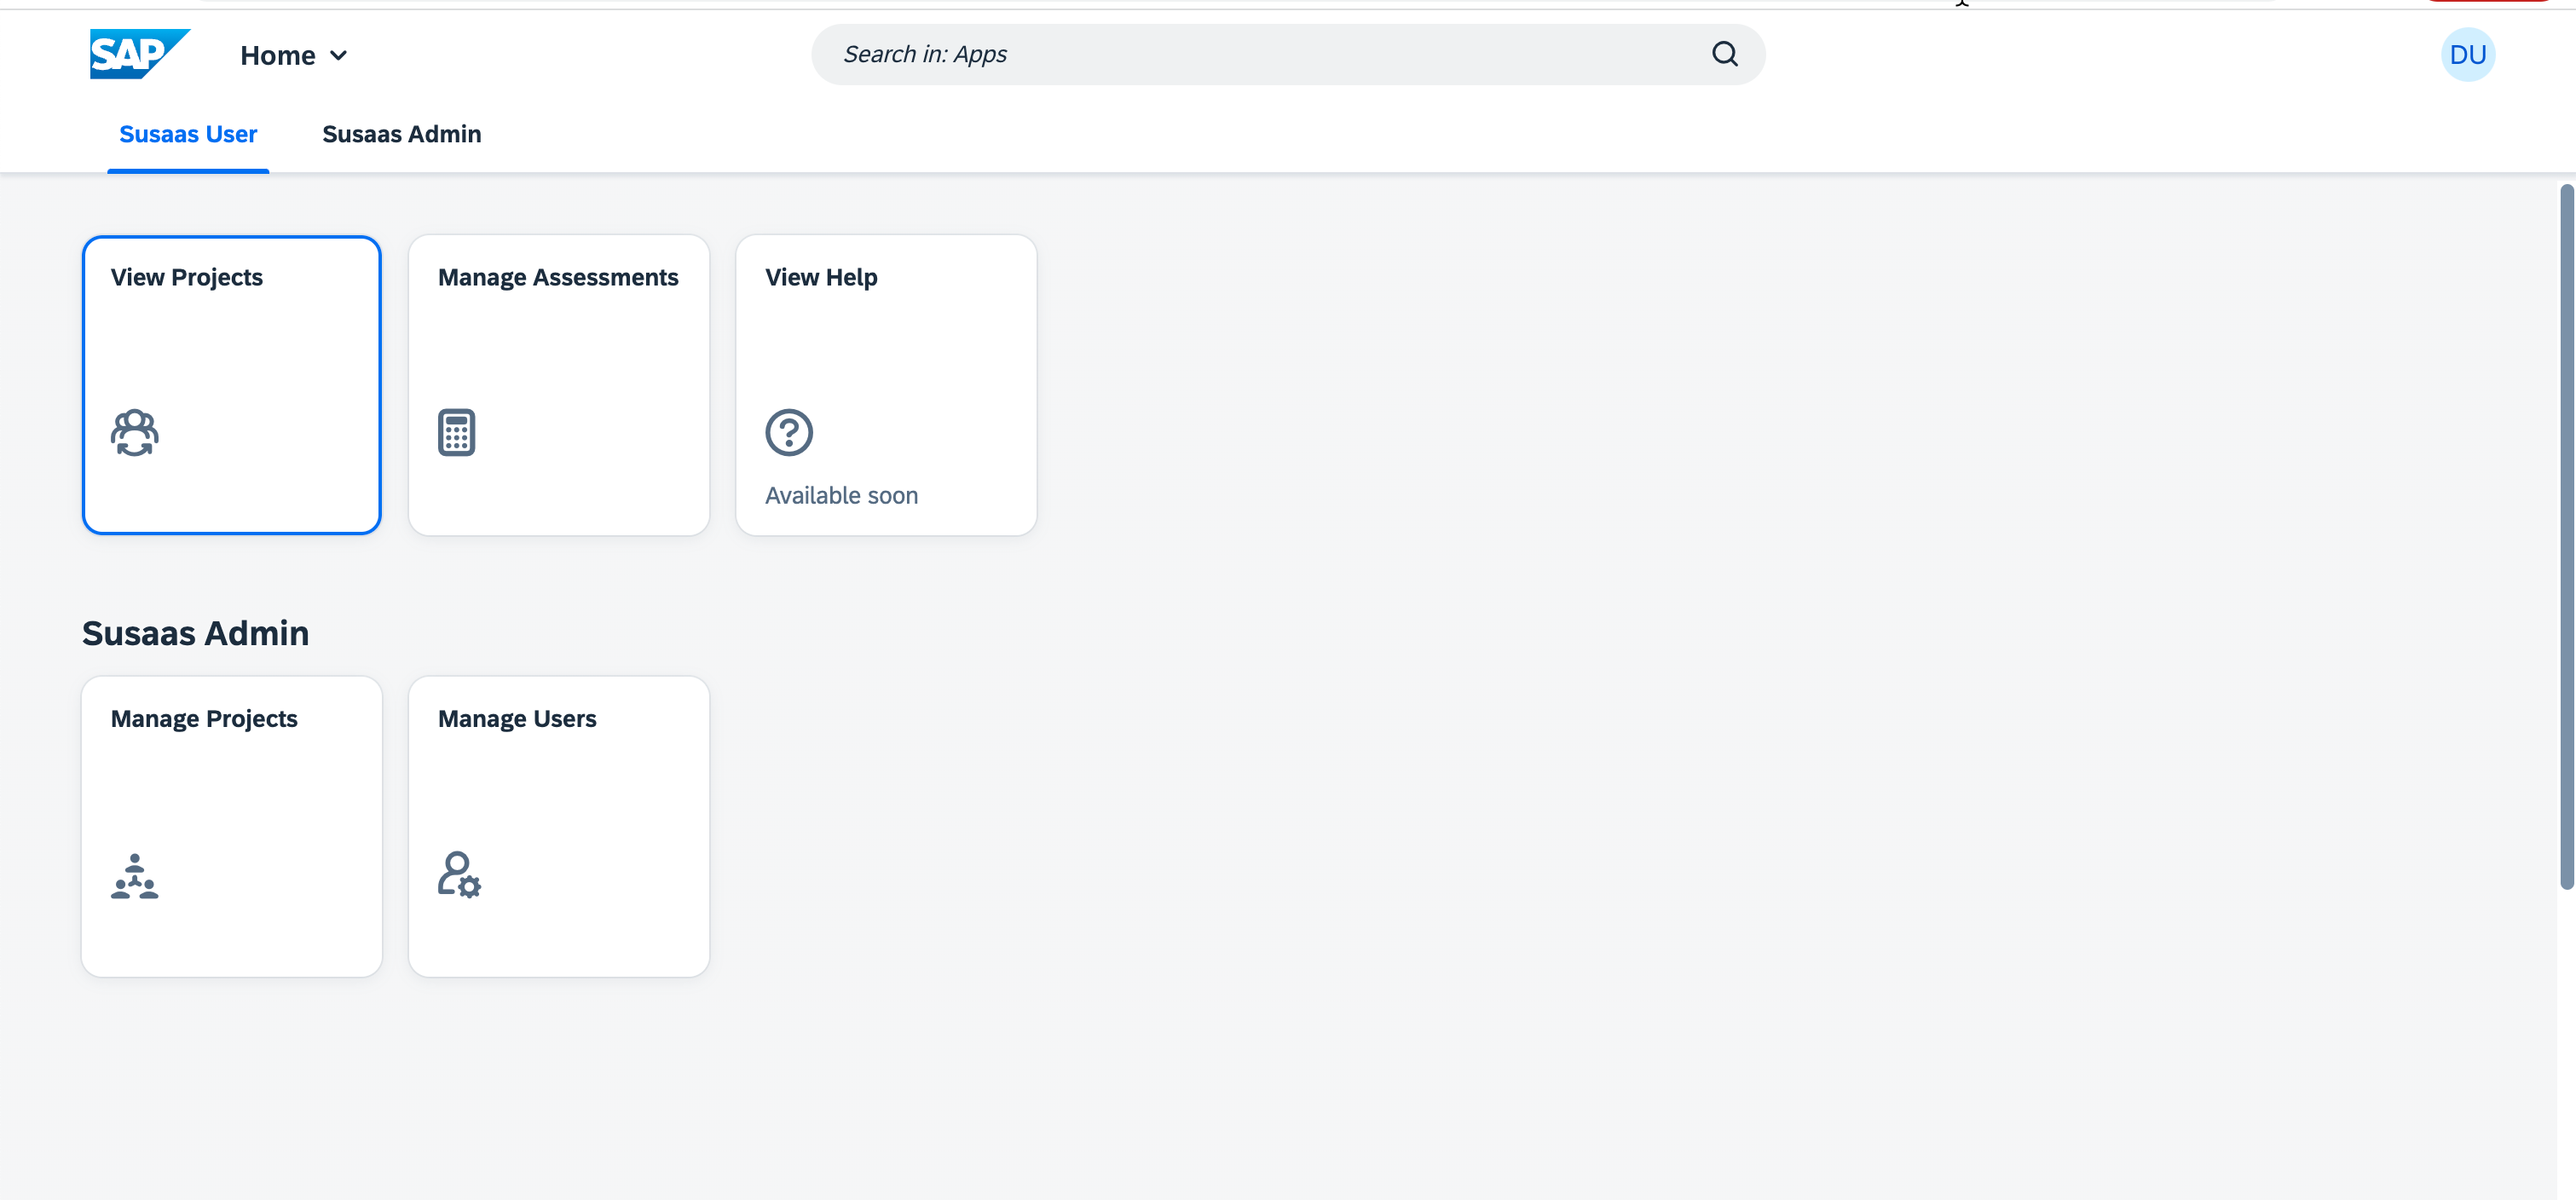
2. Create a new Project
2.1. On your home page please select Manage Projects.

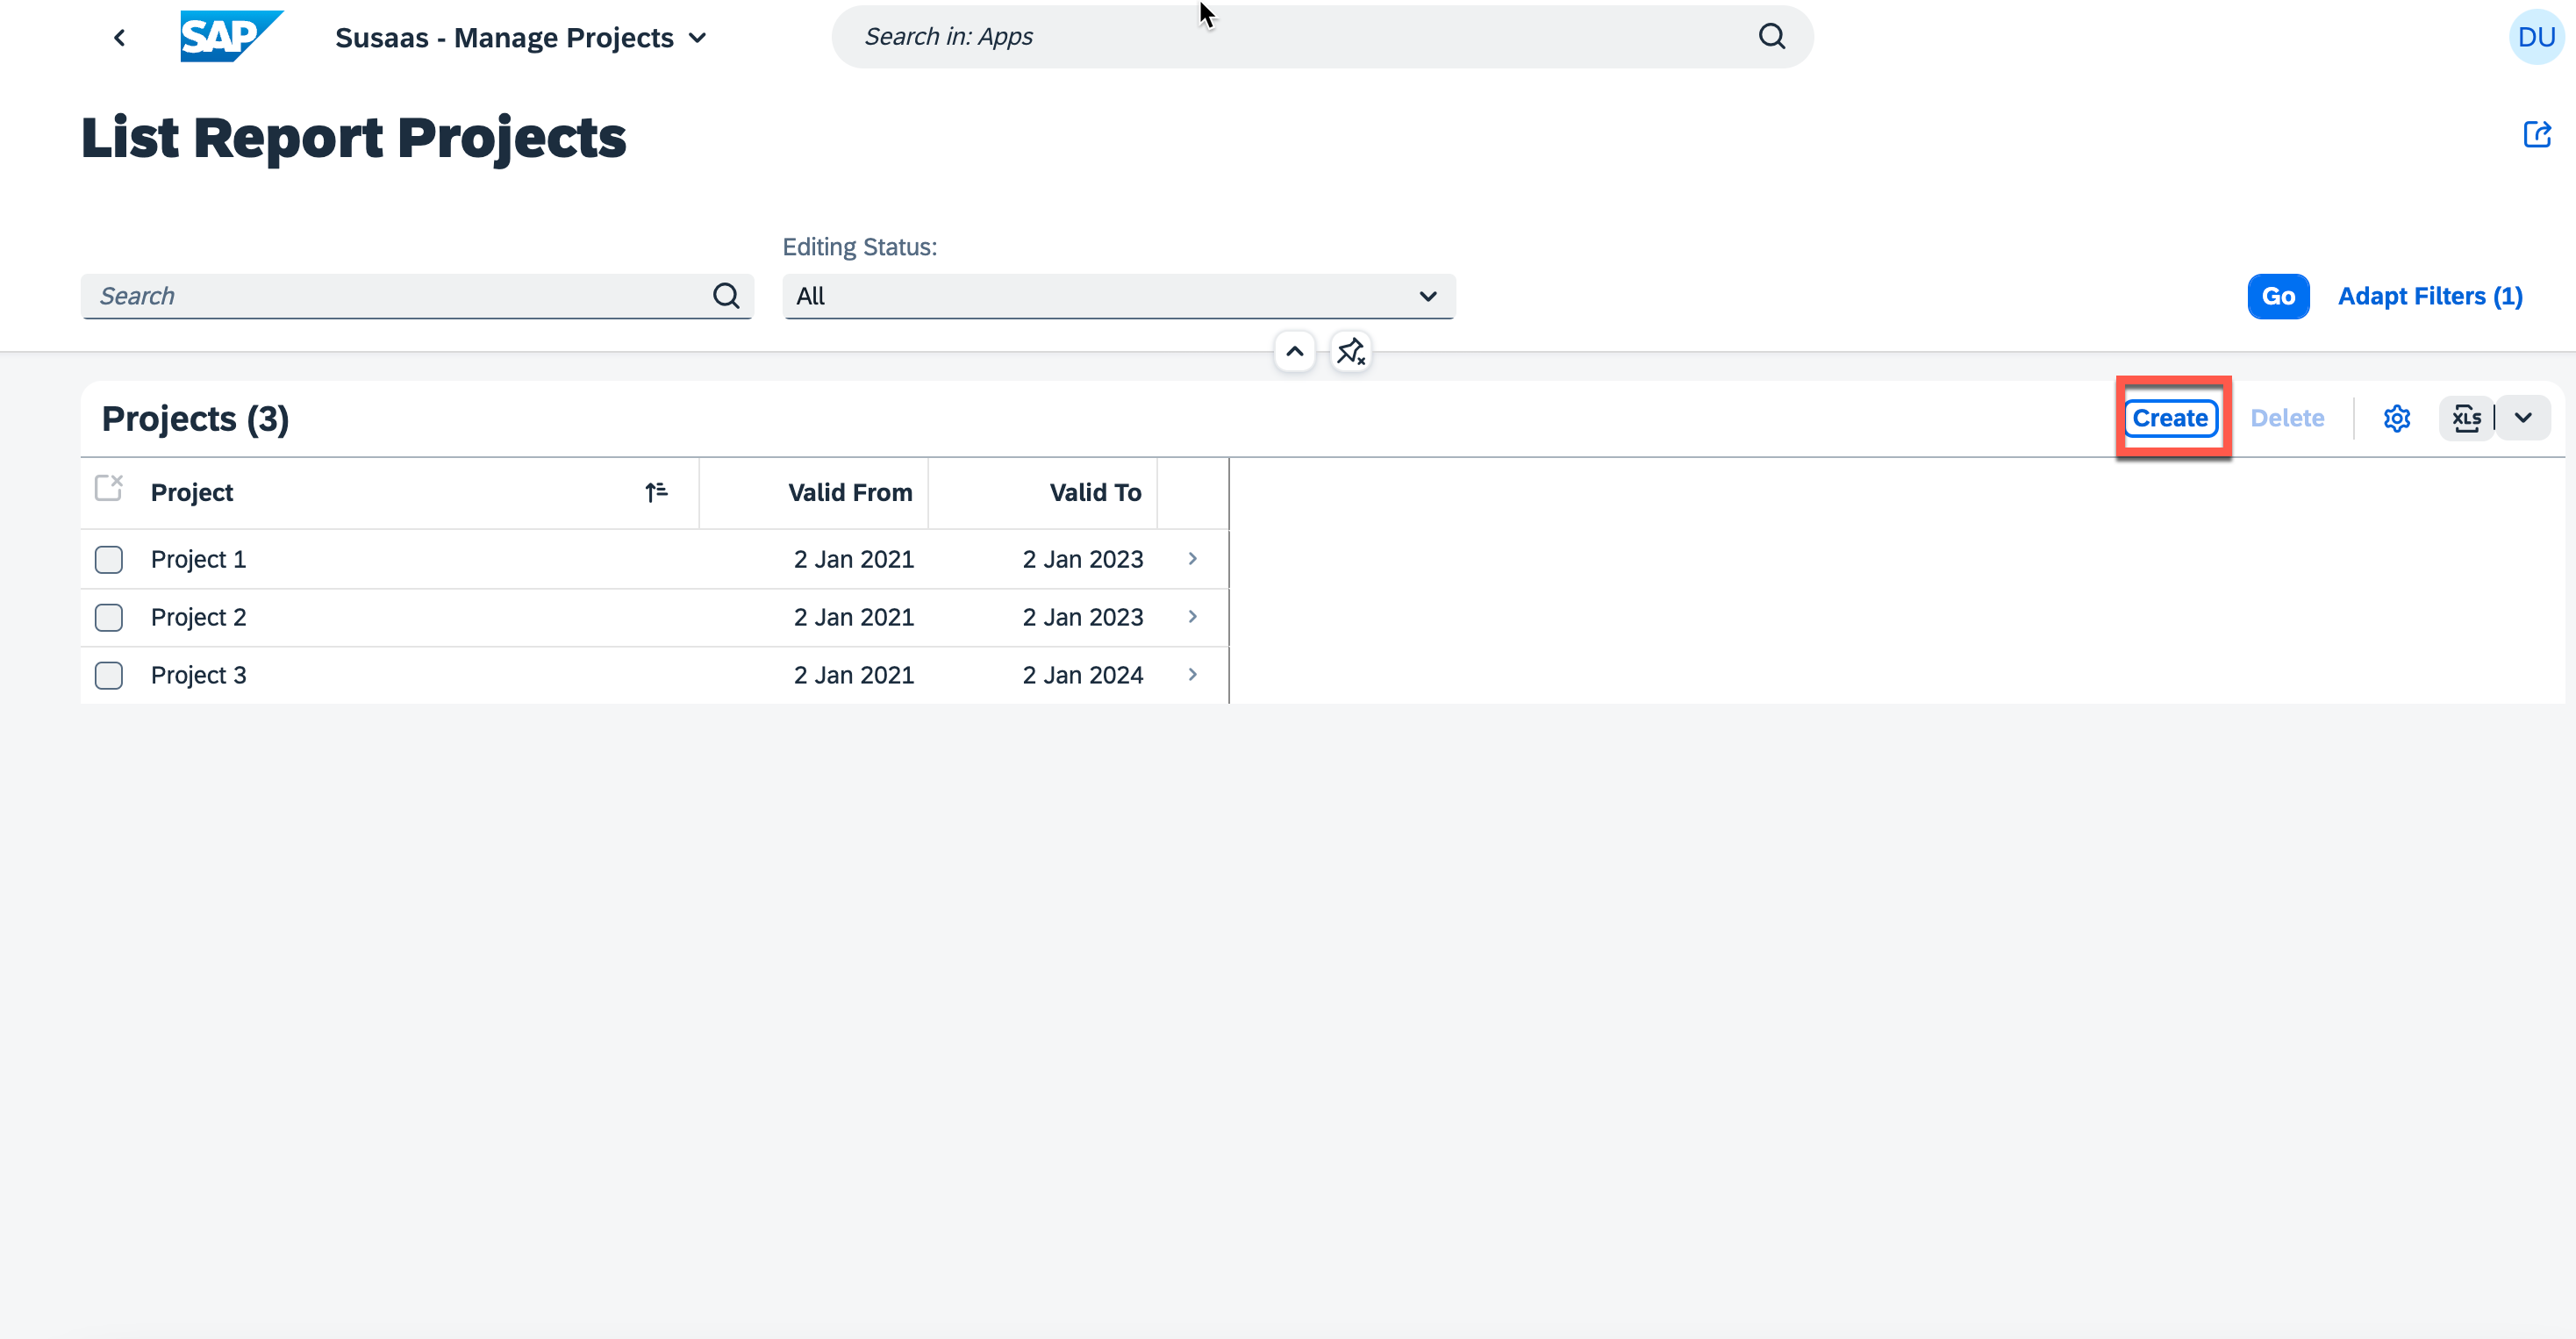
2.2. On the Manage Projects screen press Create.
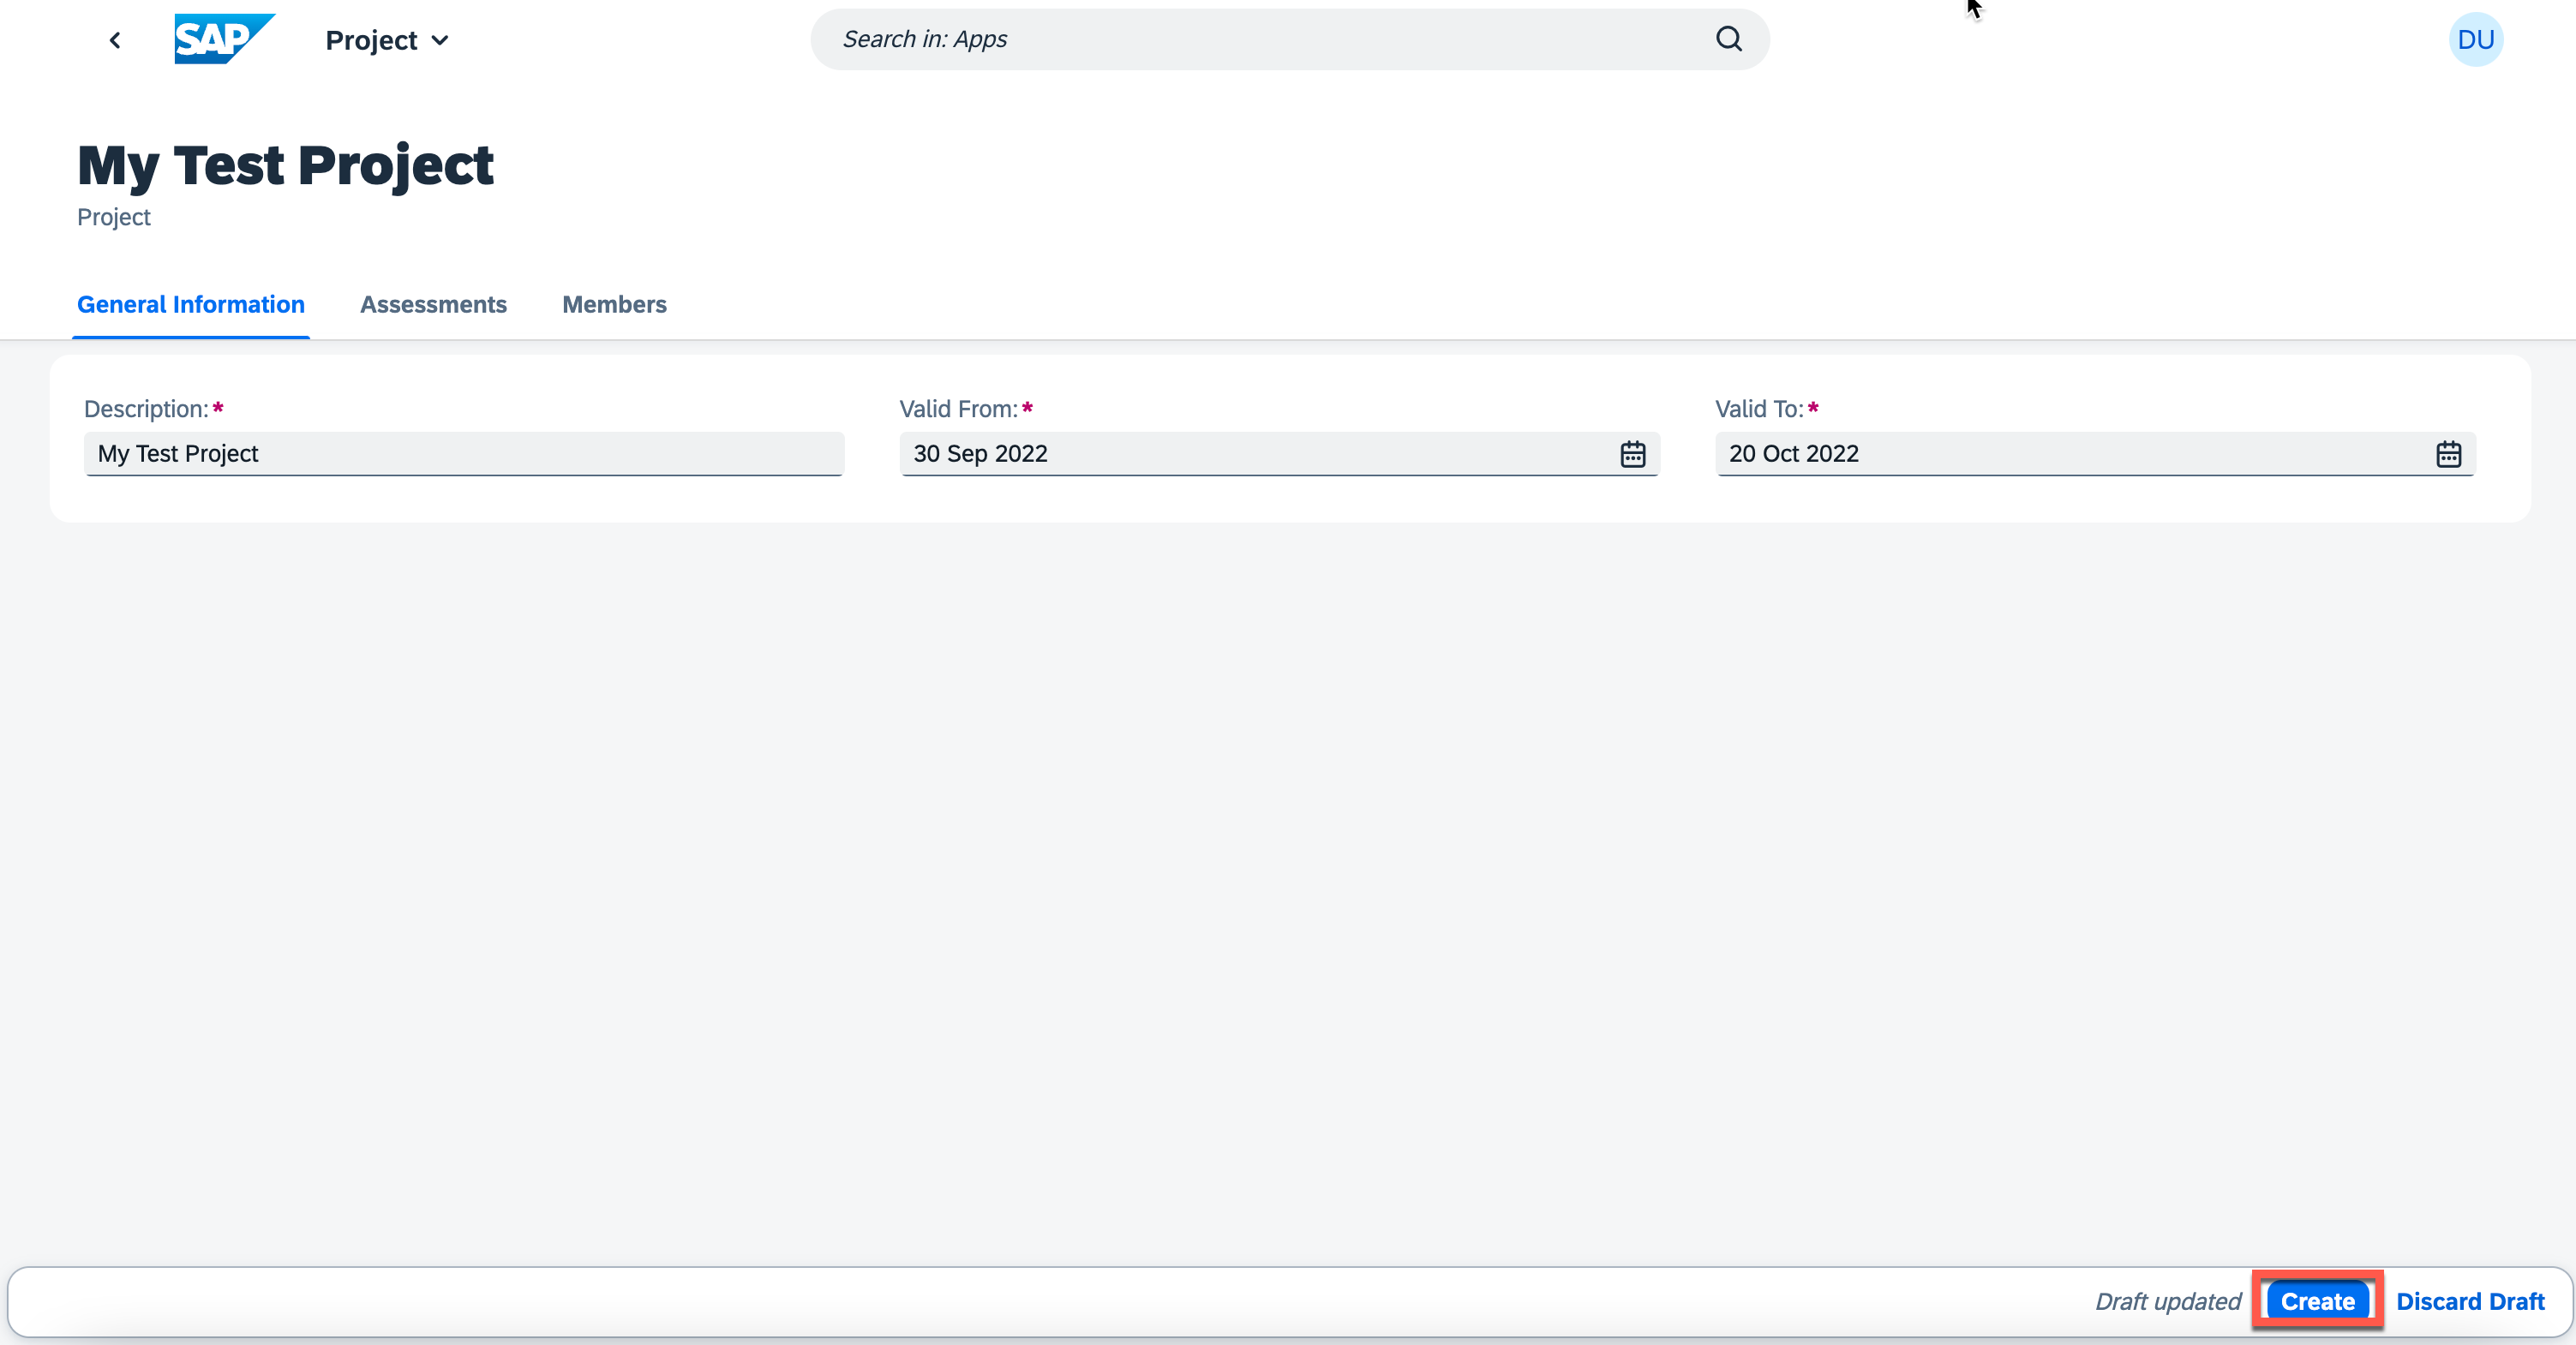
2.3. Provide the mandatory Project details and press Create.
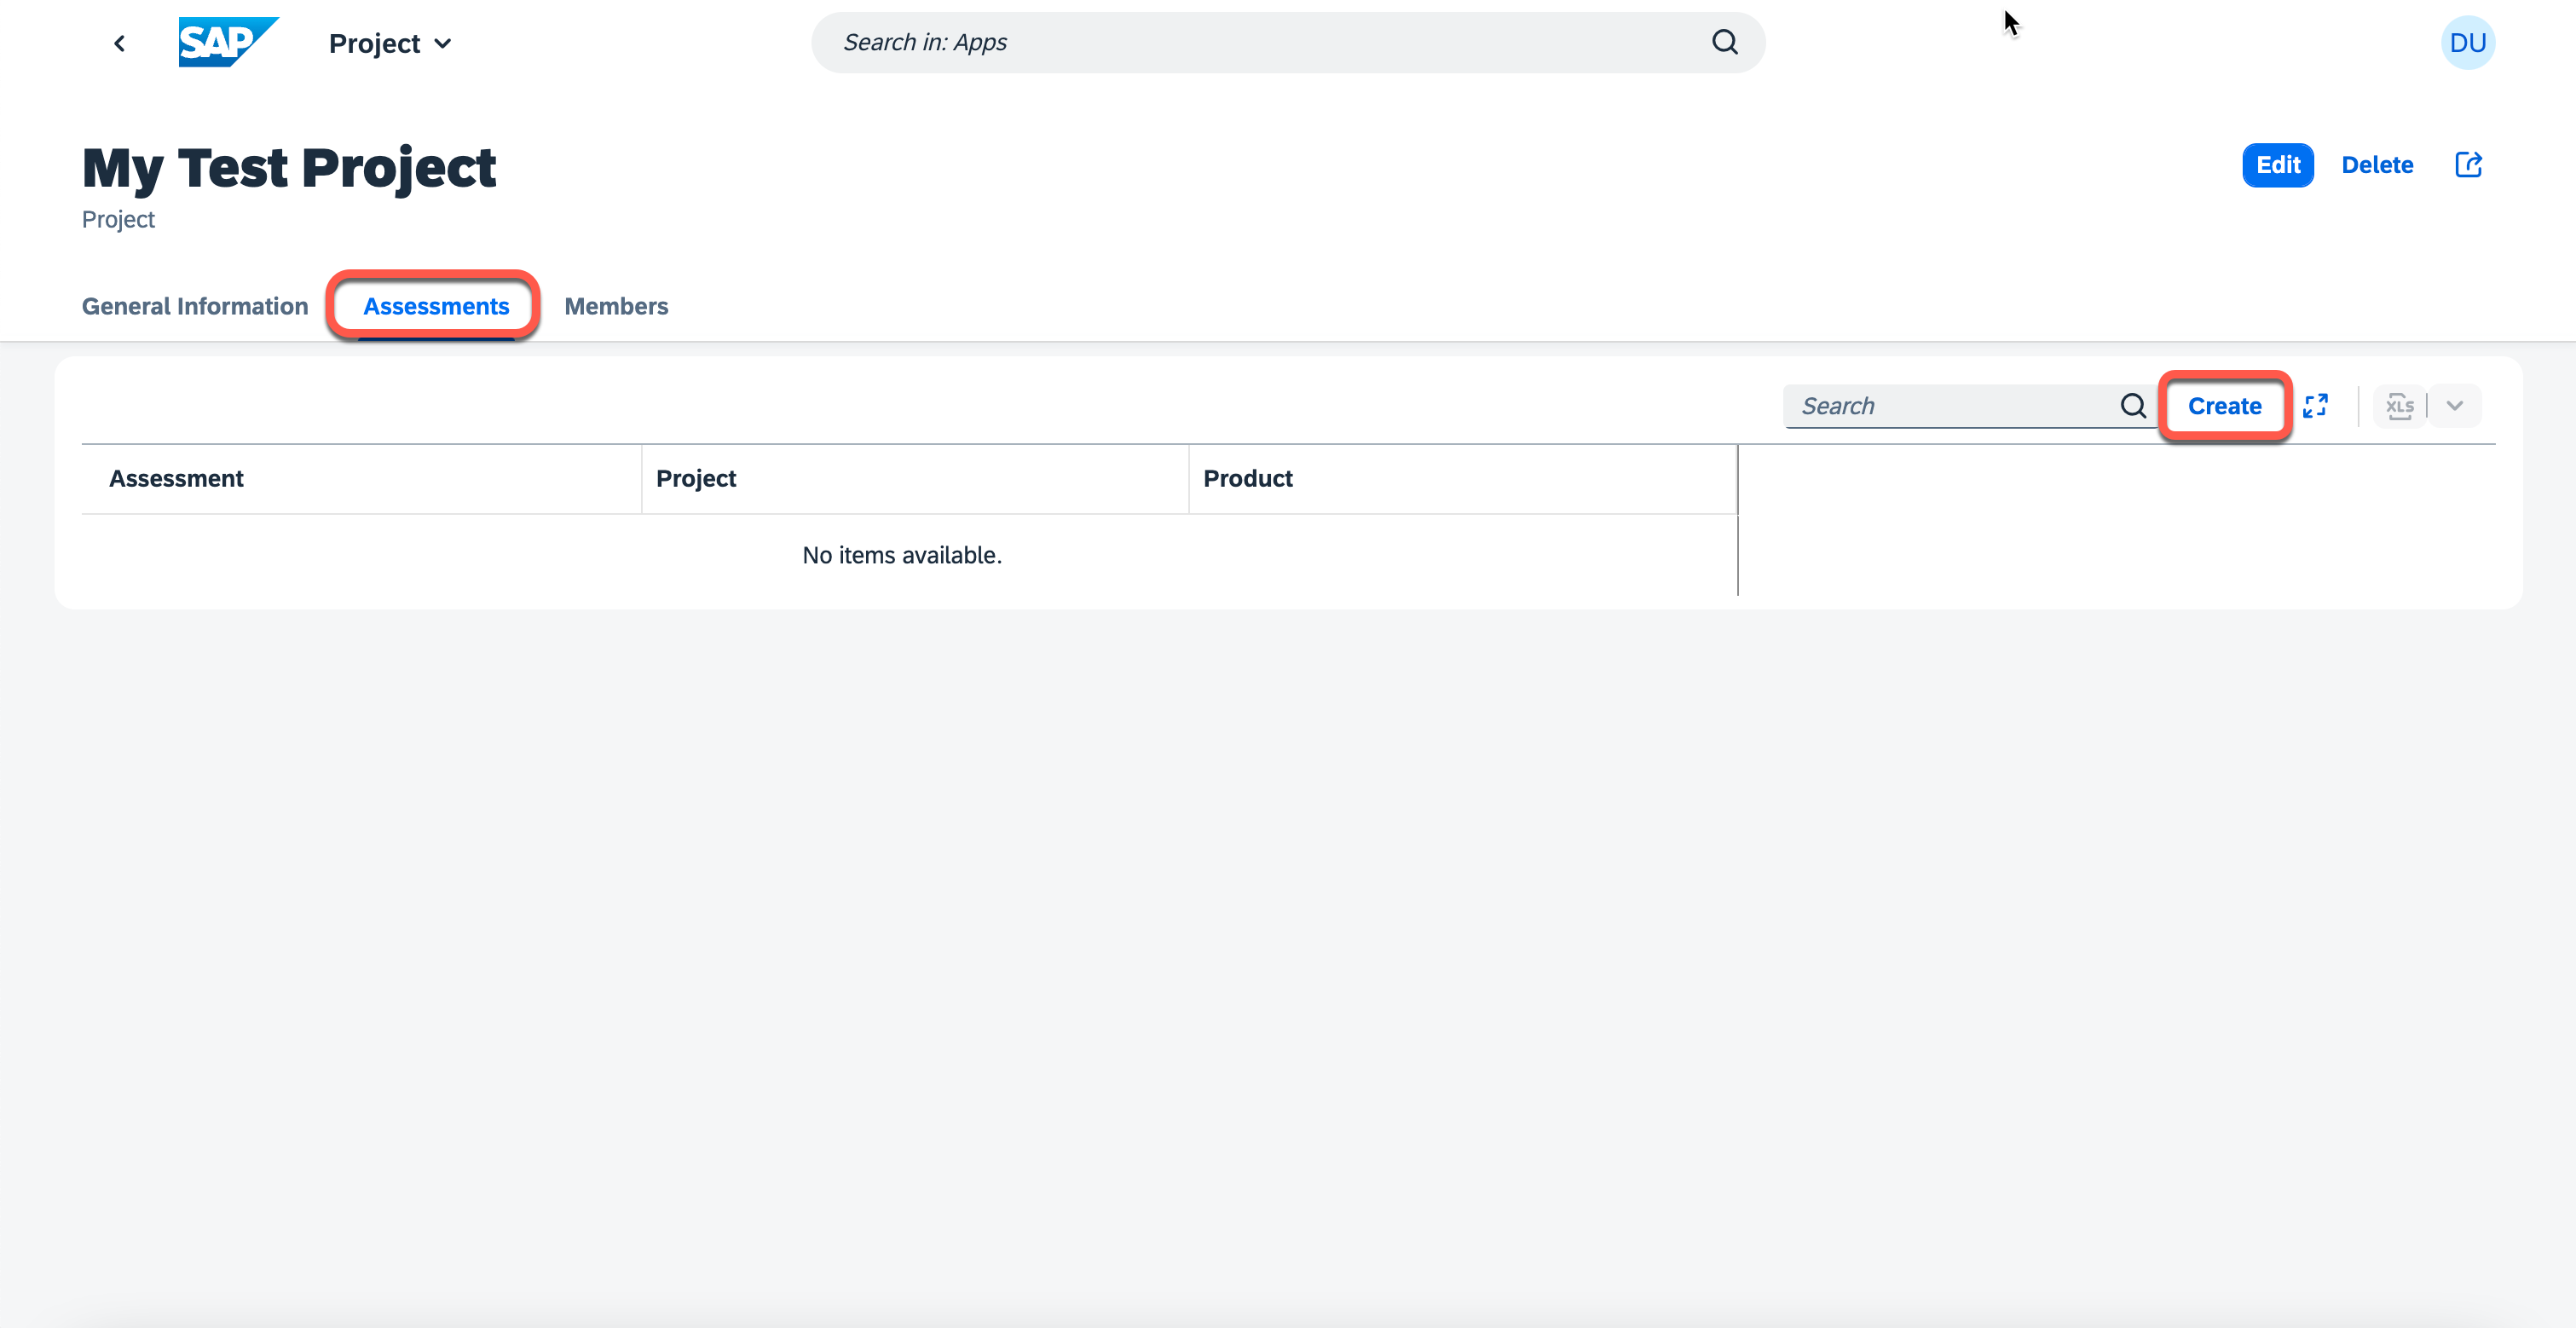
3. Create an Assessment
3.1. To create an Assessment, switch to the Assessments tab and then click the Create button.
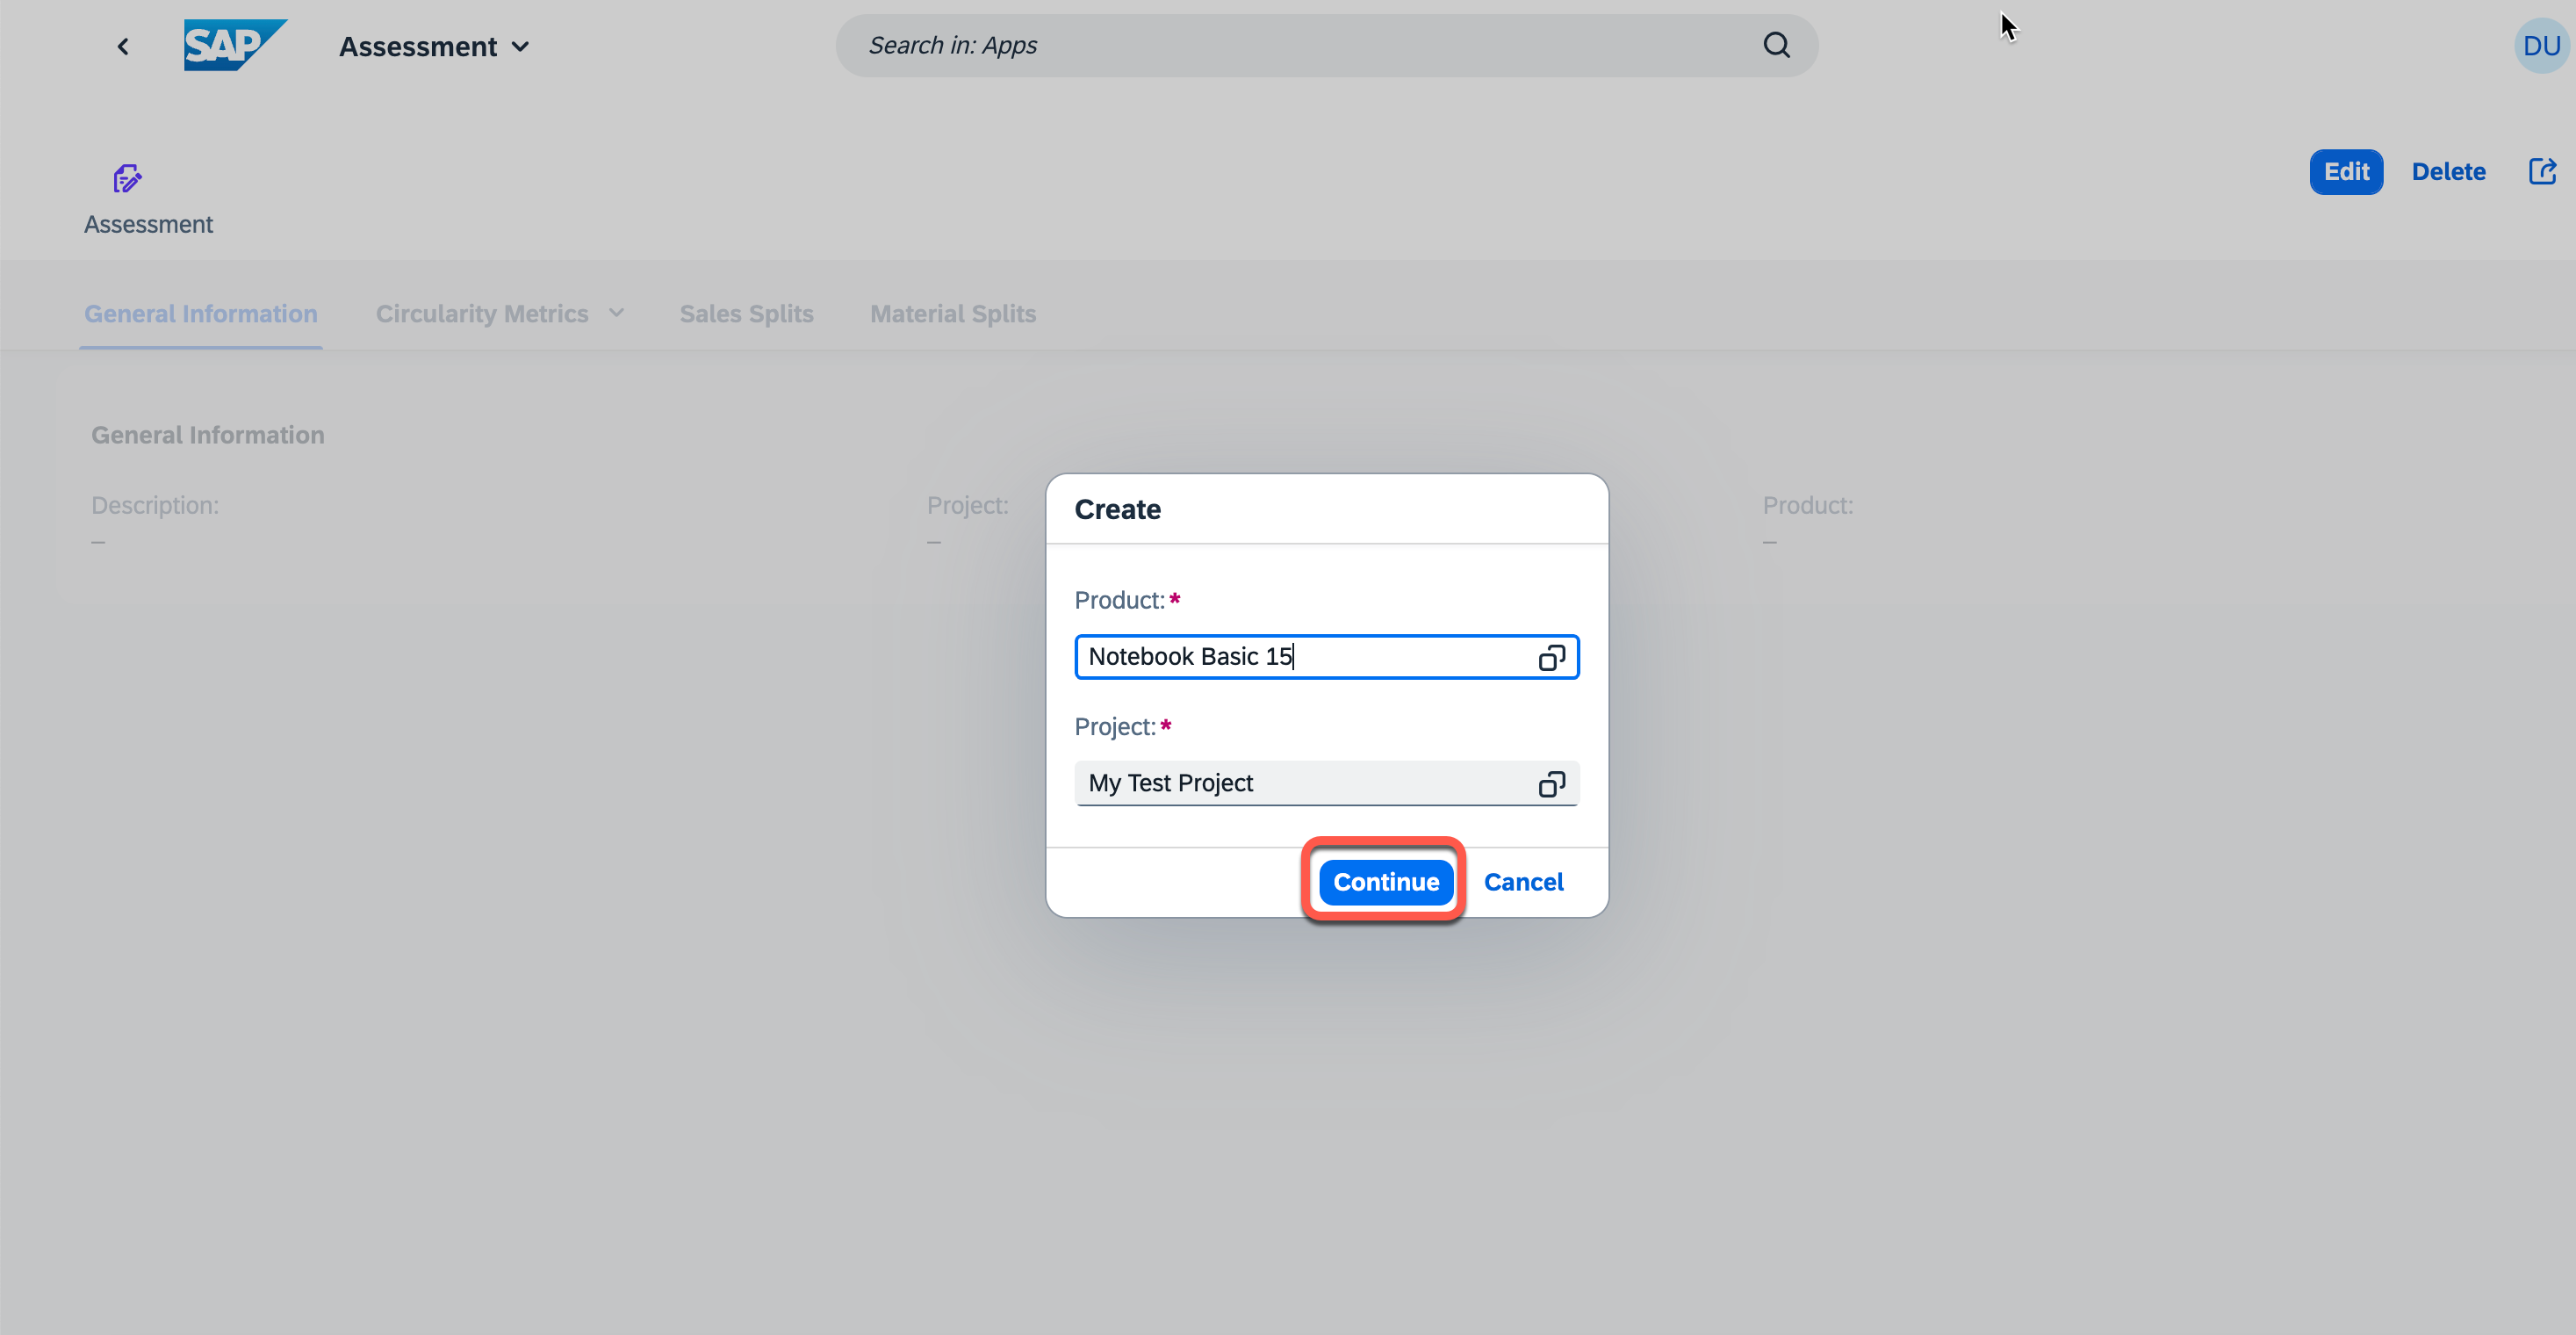
3.2. Choose a product from the value help and press Continue. The project is prefilled automatically.
If you cannot see products in the value help, make sure you've completed the Push data to the SaaS API section of the tutorial (click here)!
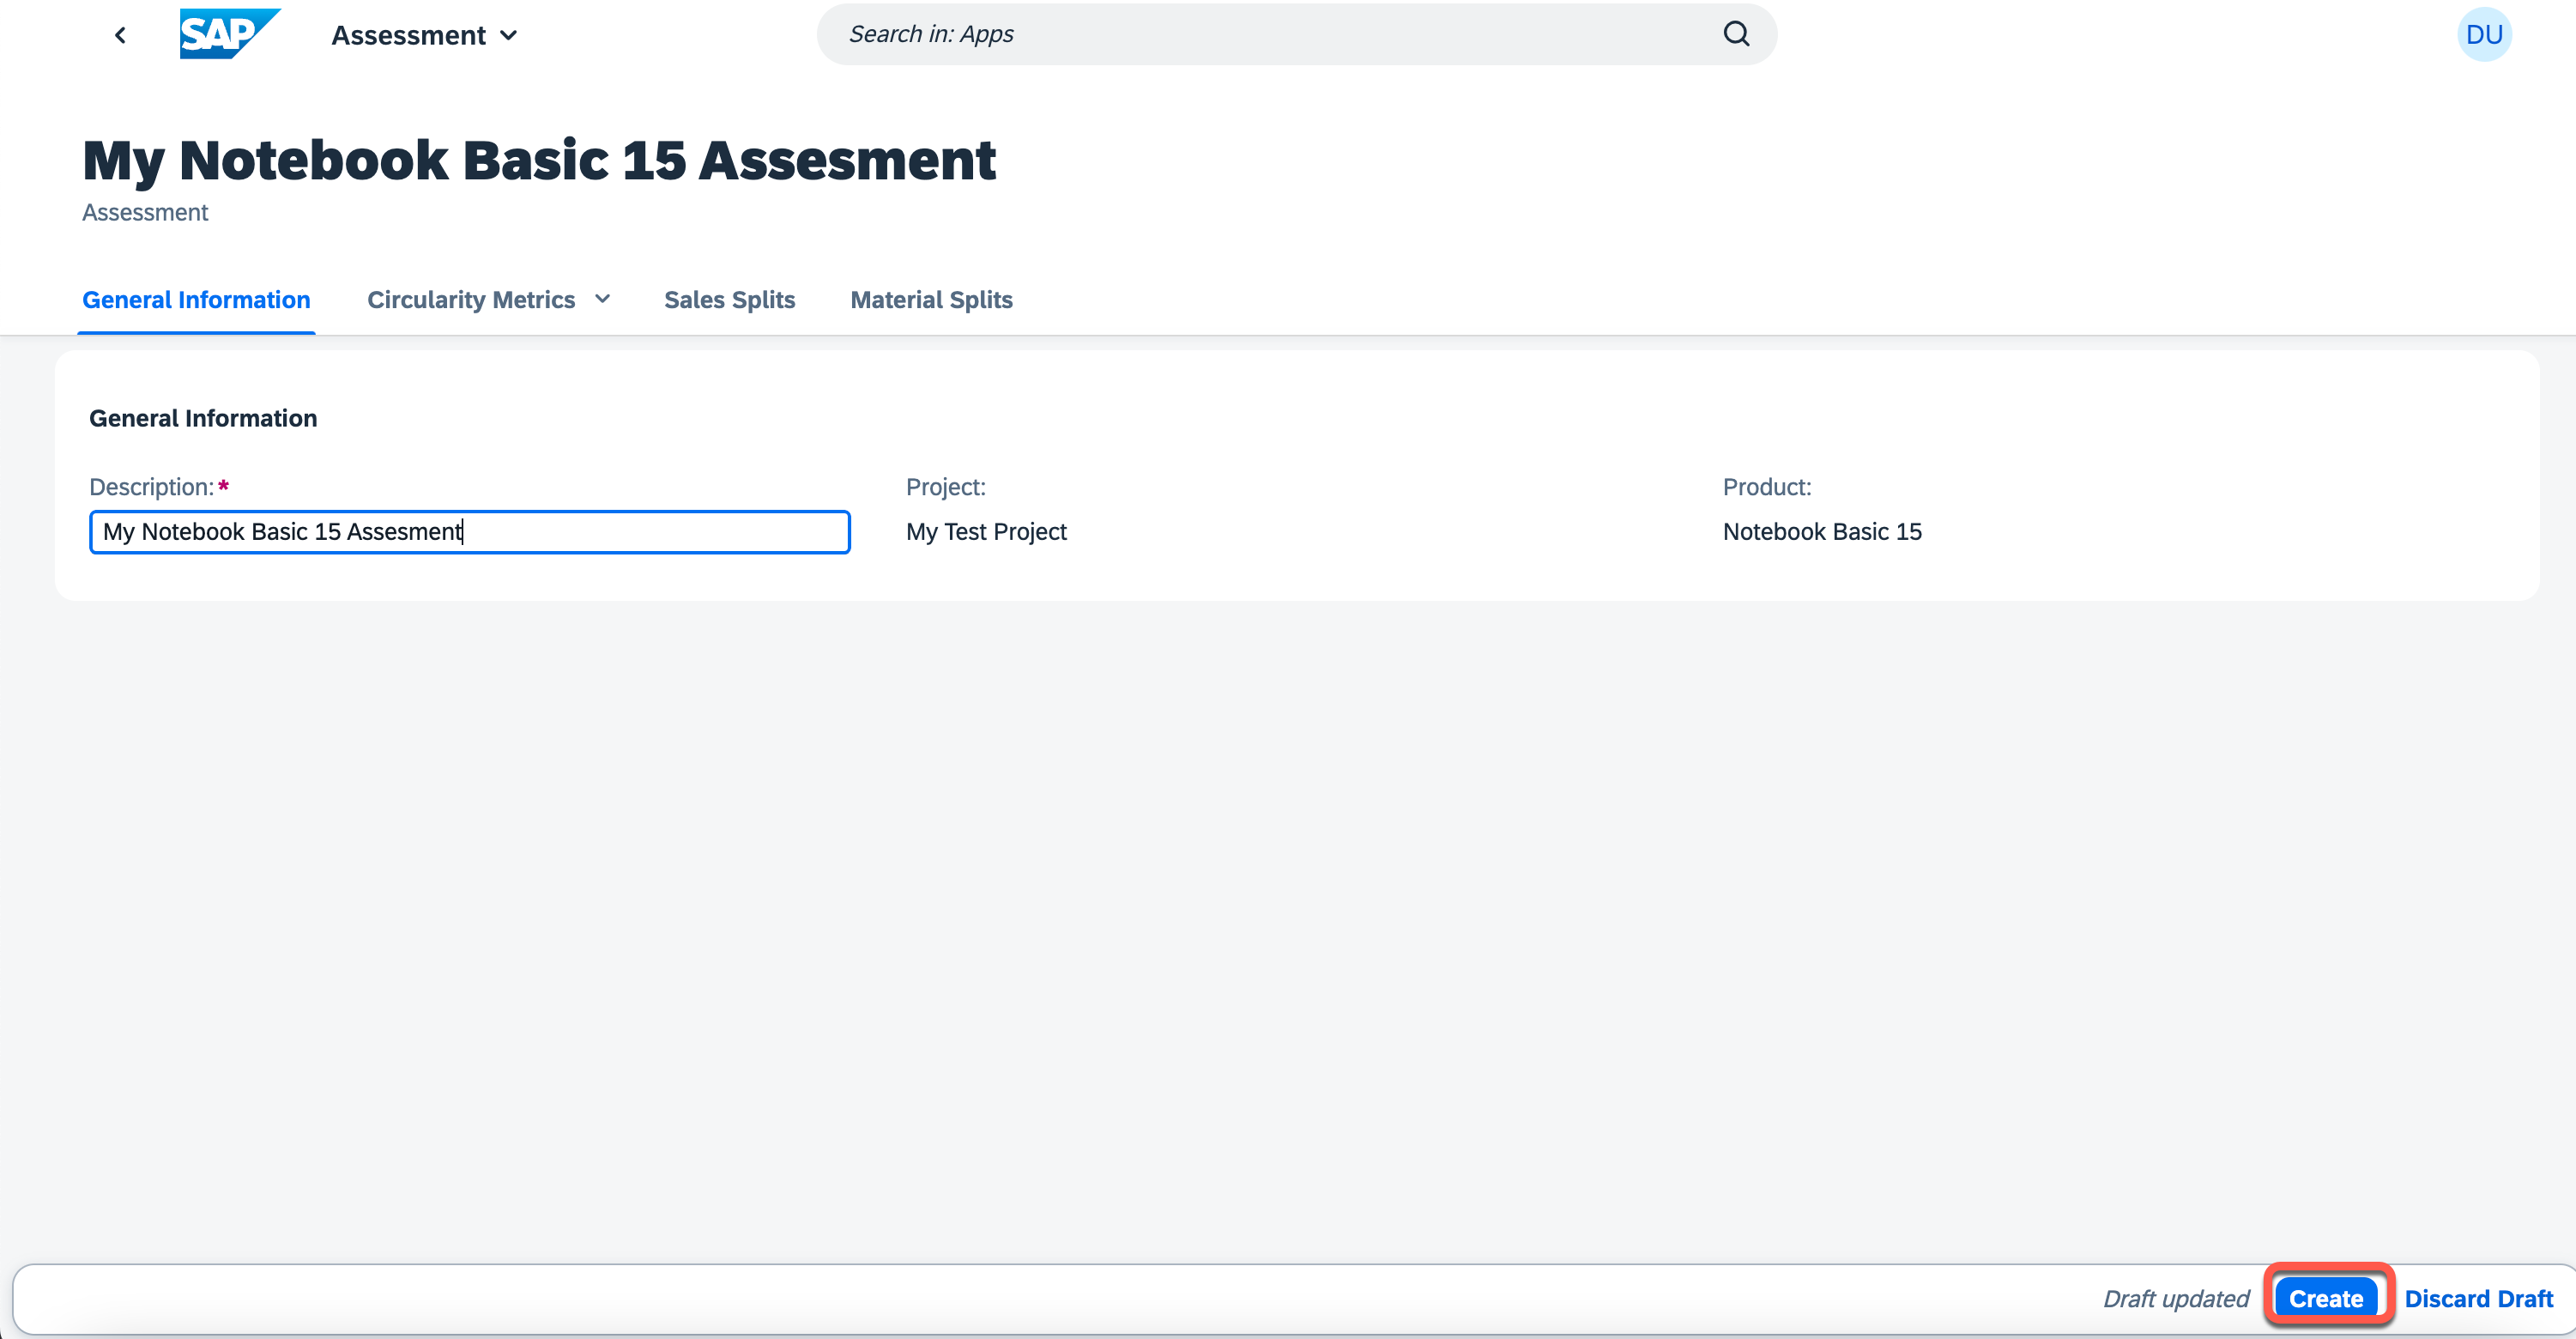
3.3. Enter a mandatory description and press Create.
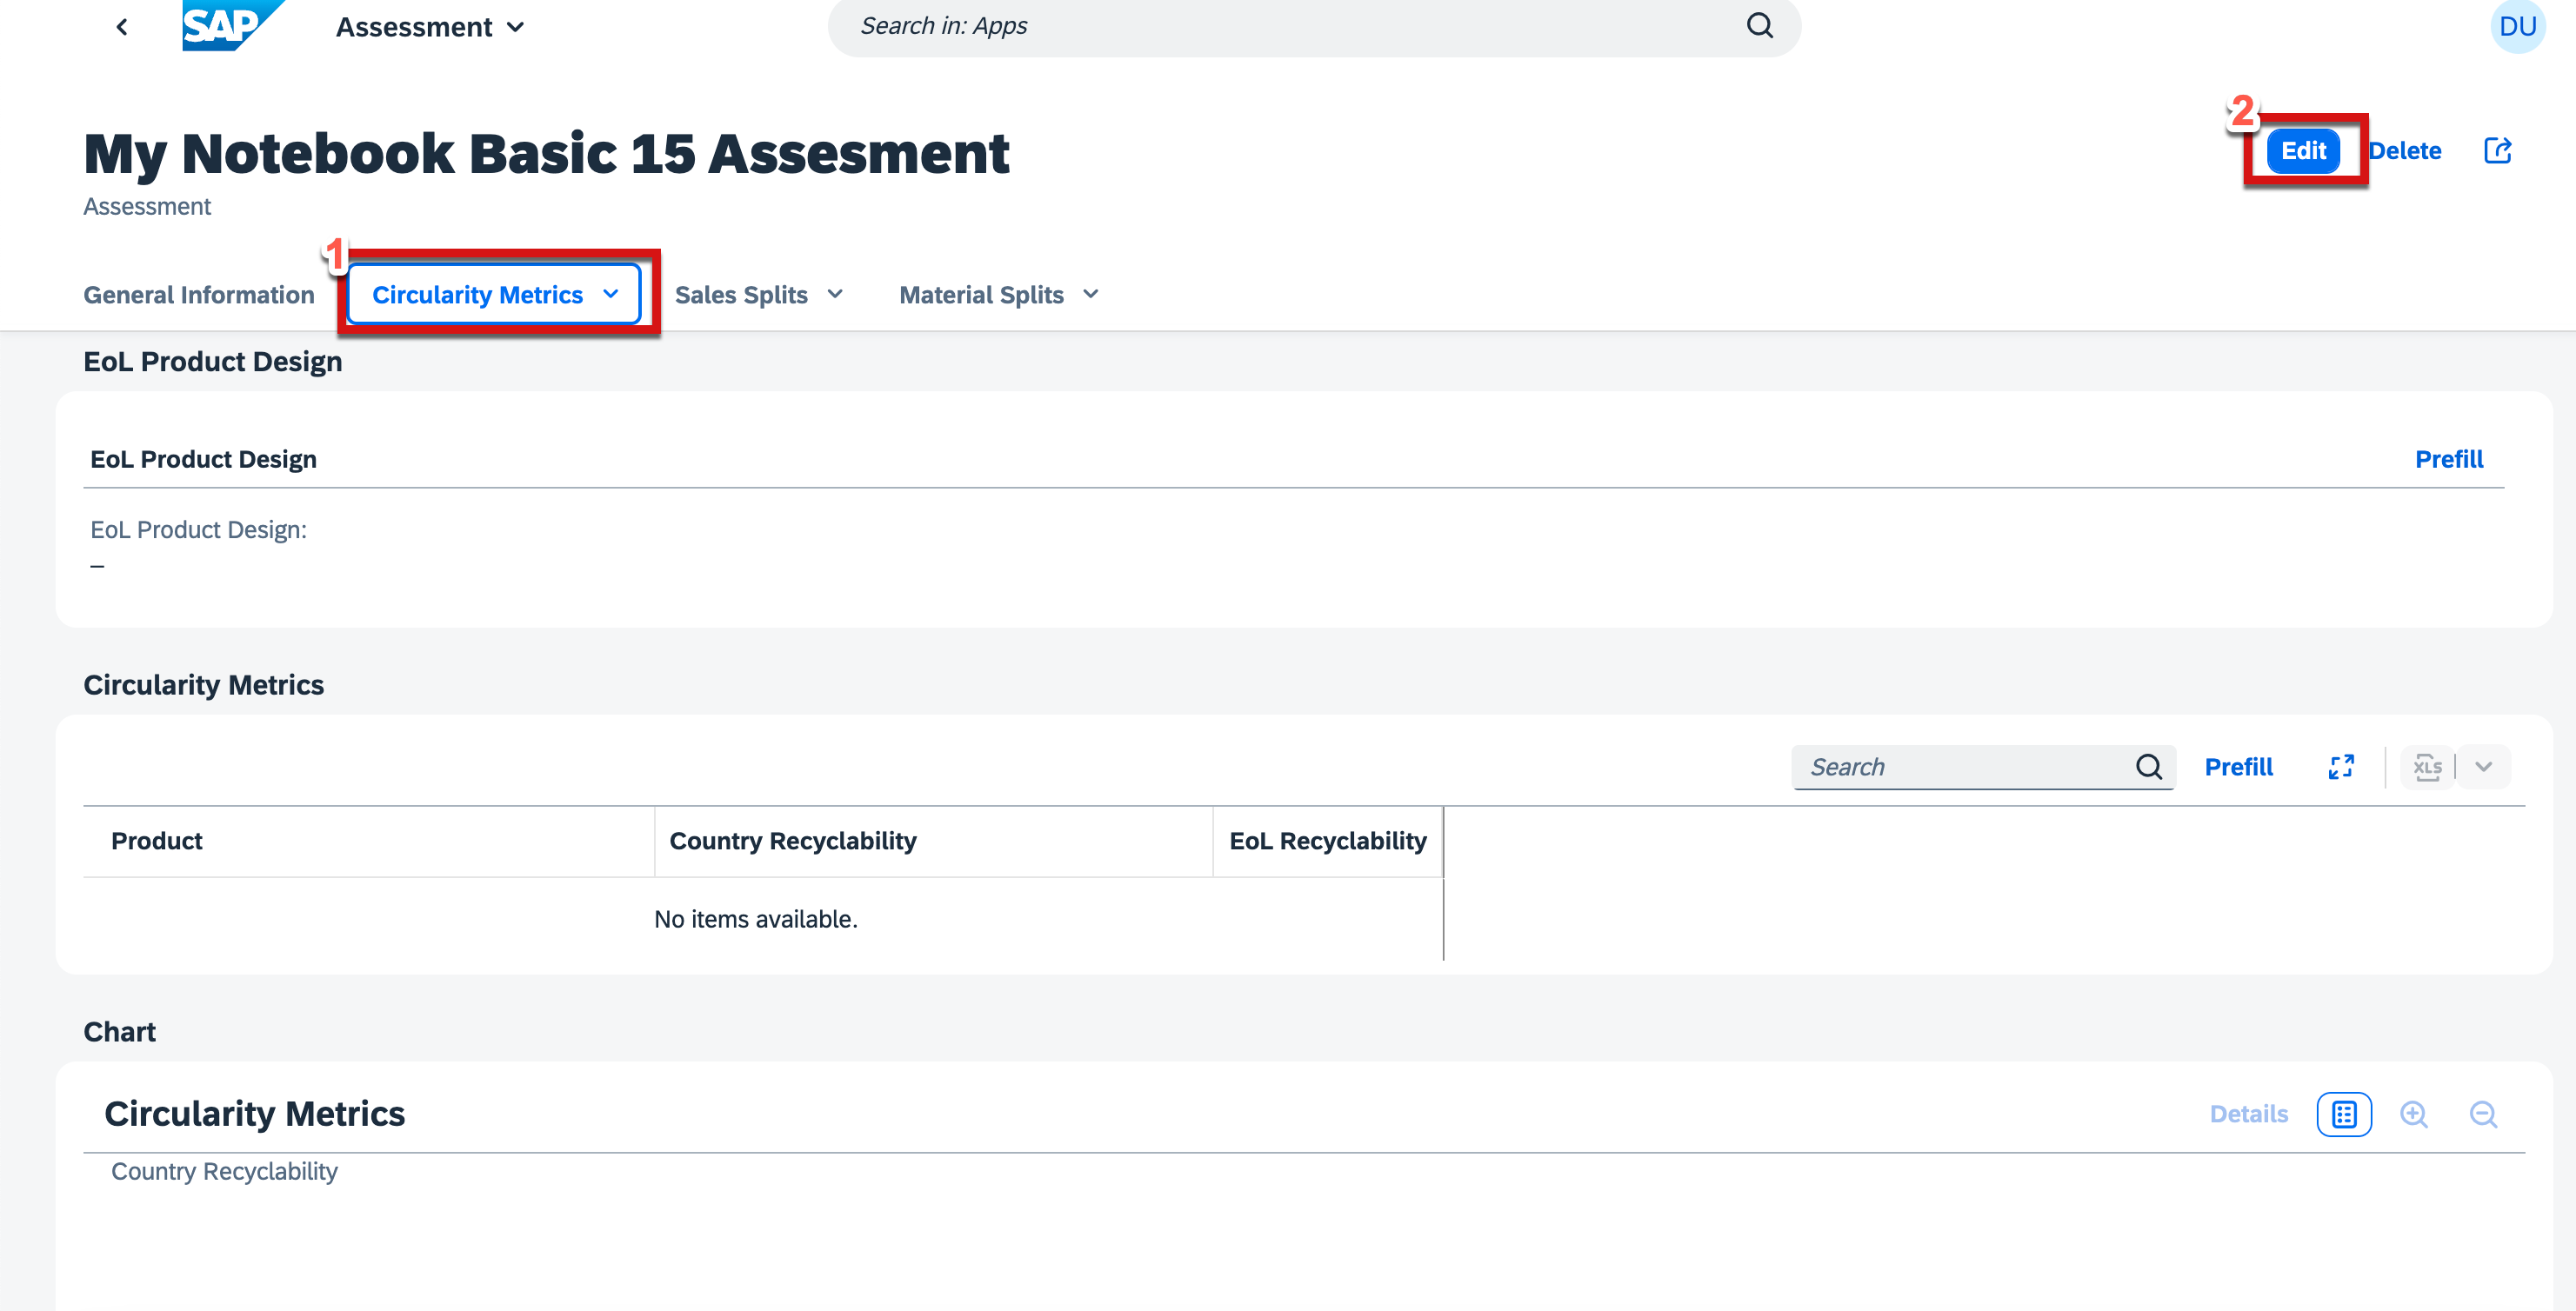
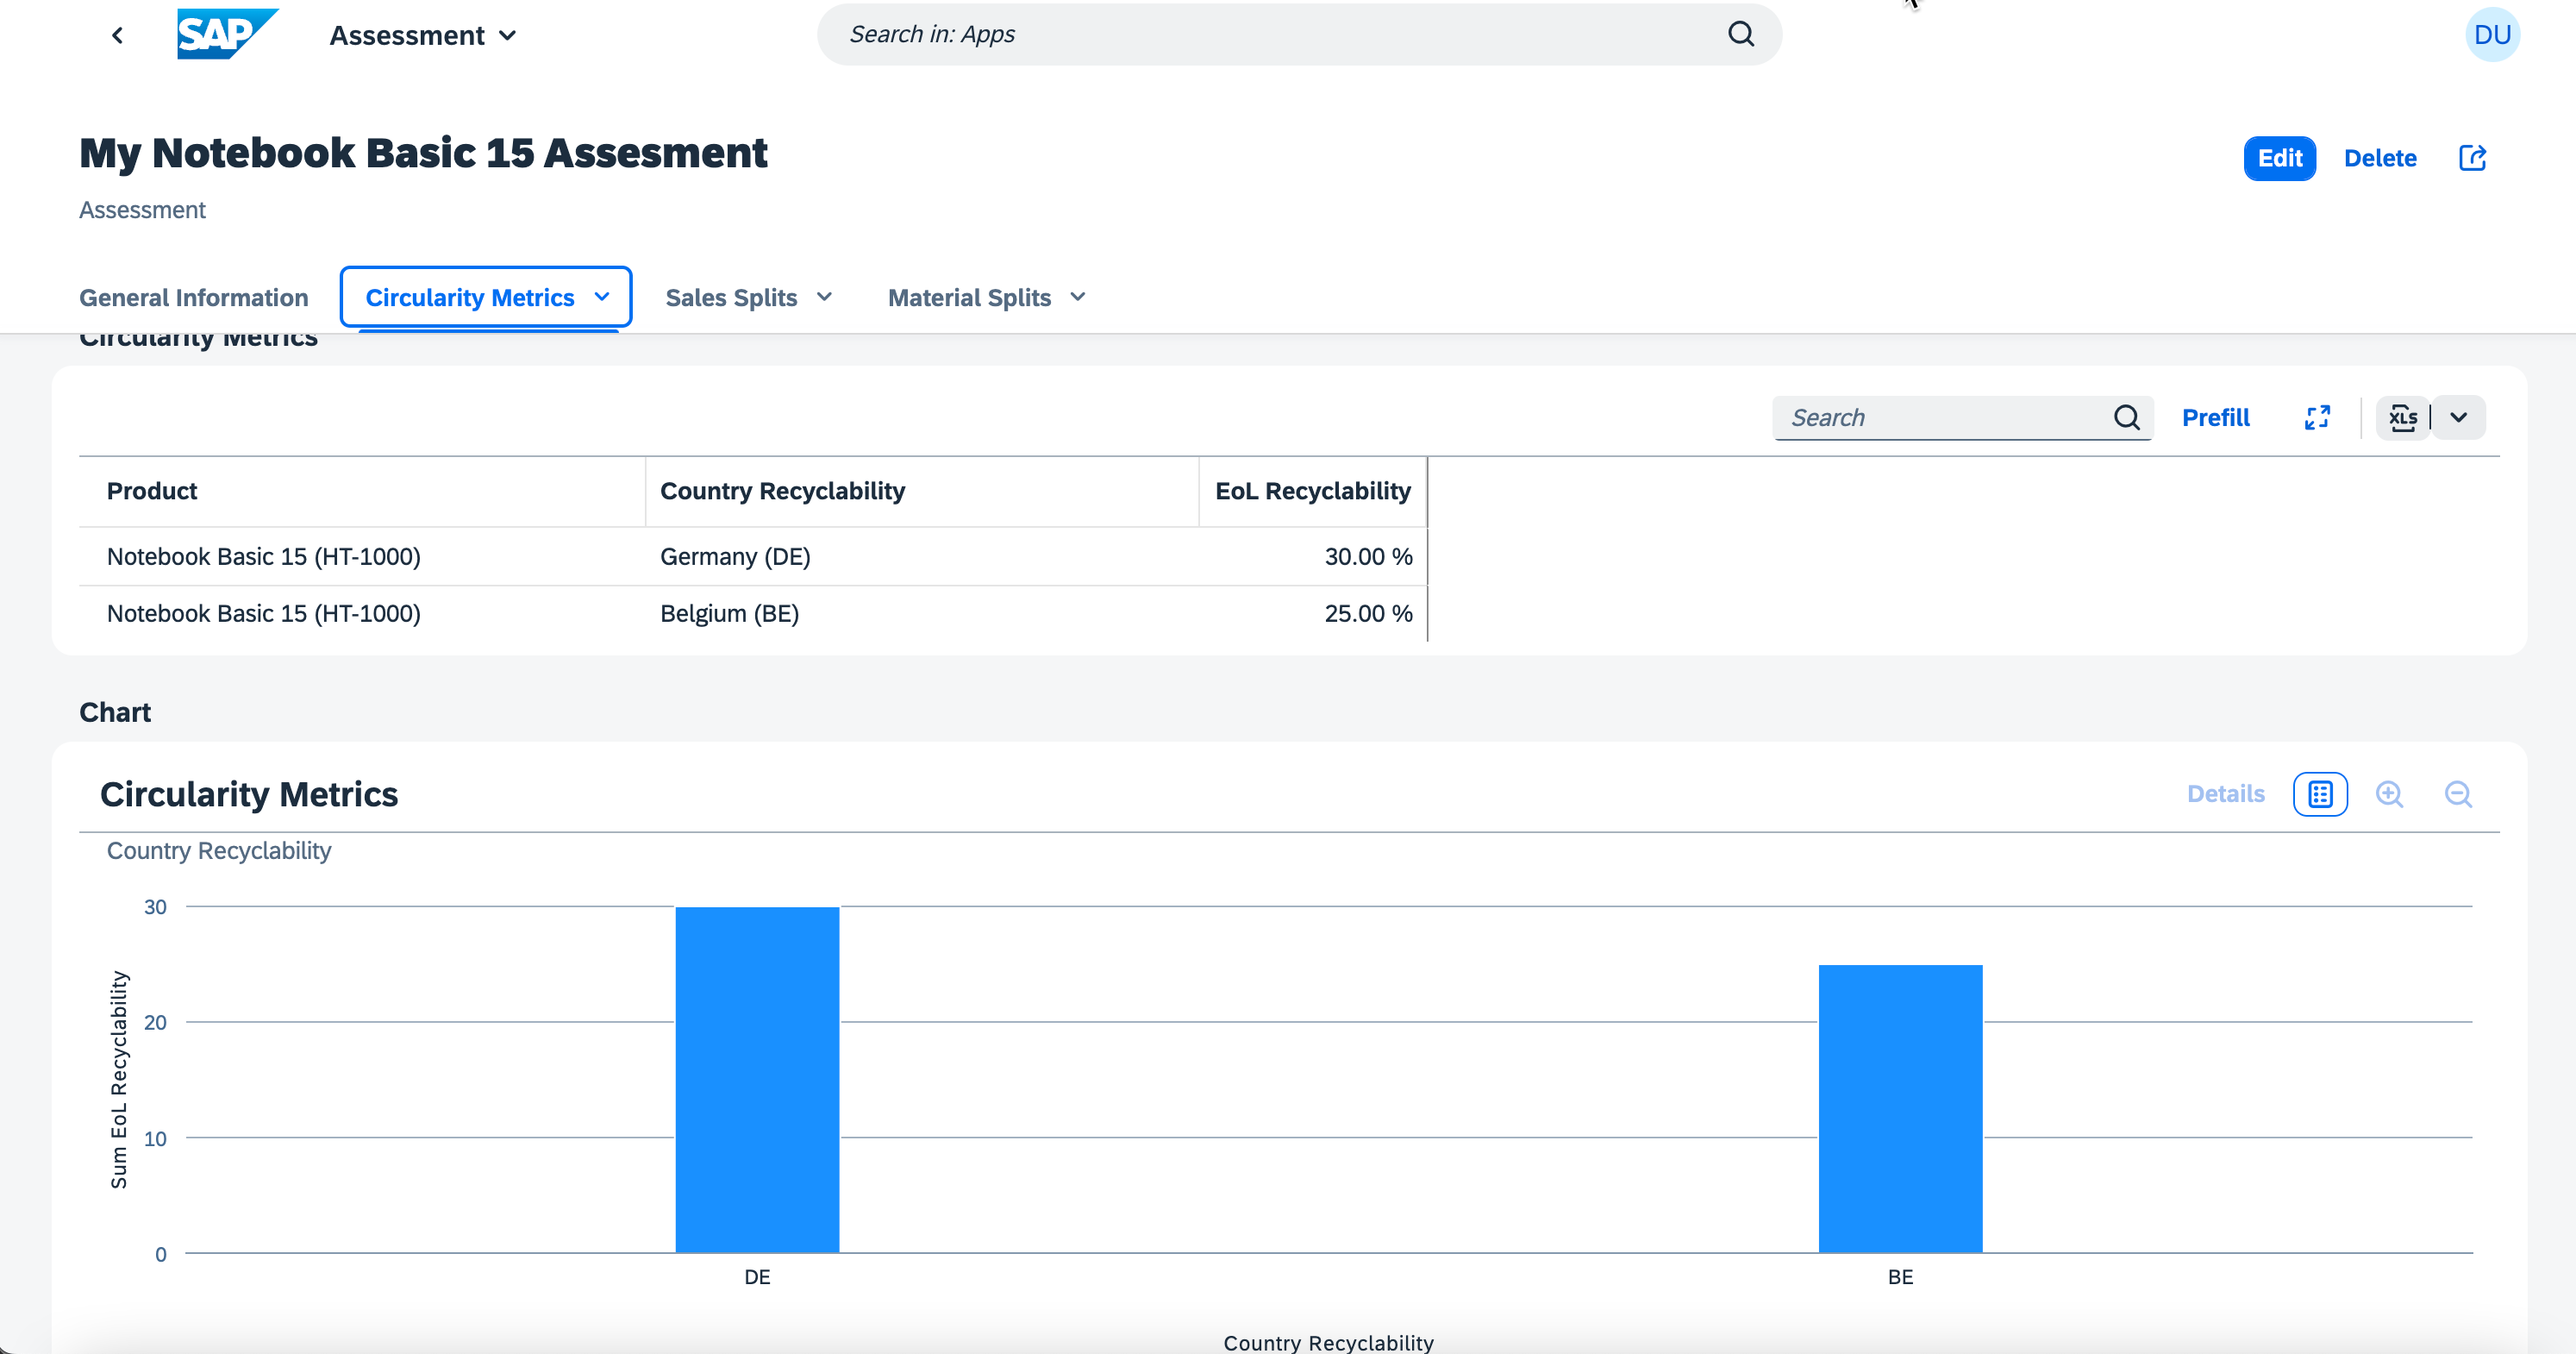
3.4. Switch to the Circularity Metrics tab and then click Edit to add circularity values.
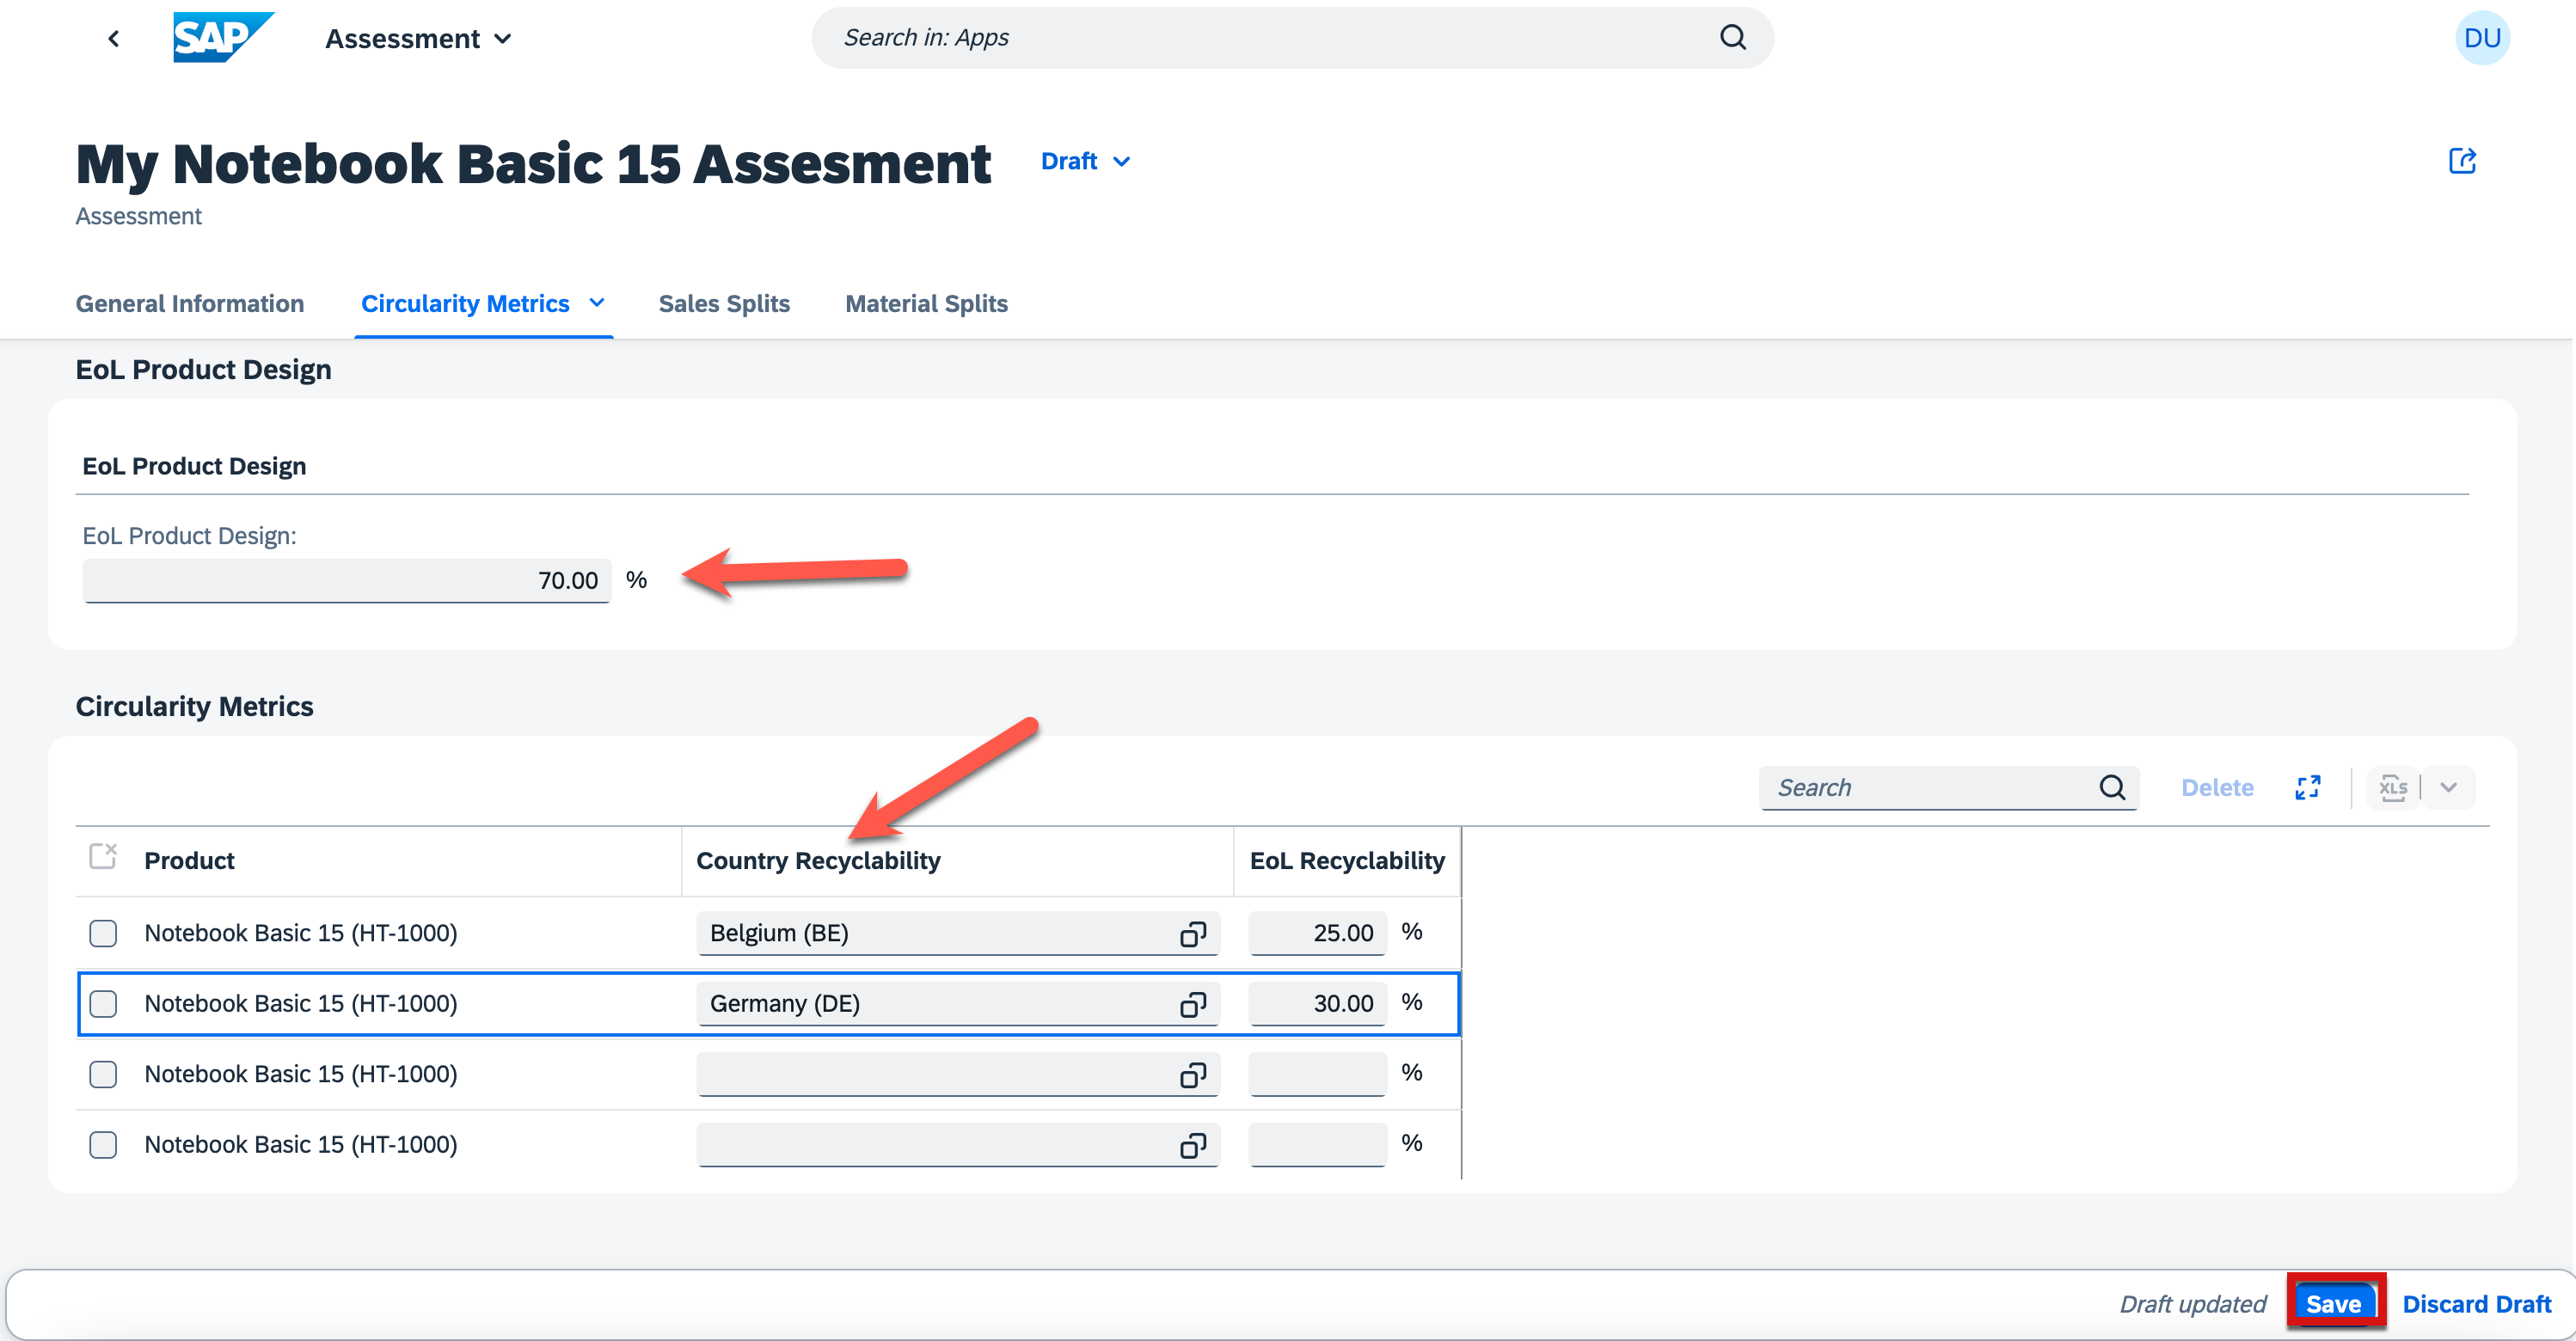
3.5. Add some sample circularity values for the chosen product as below and then press Save.
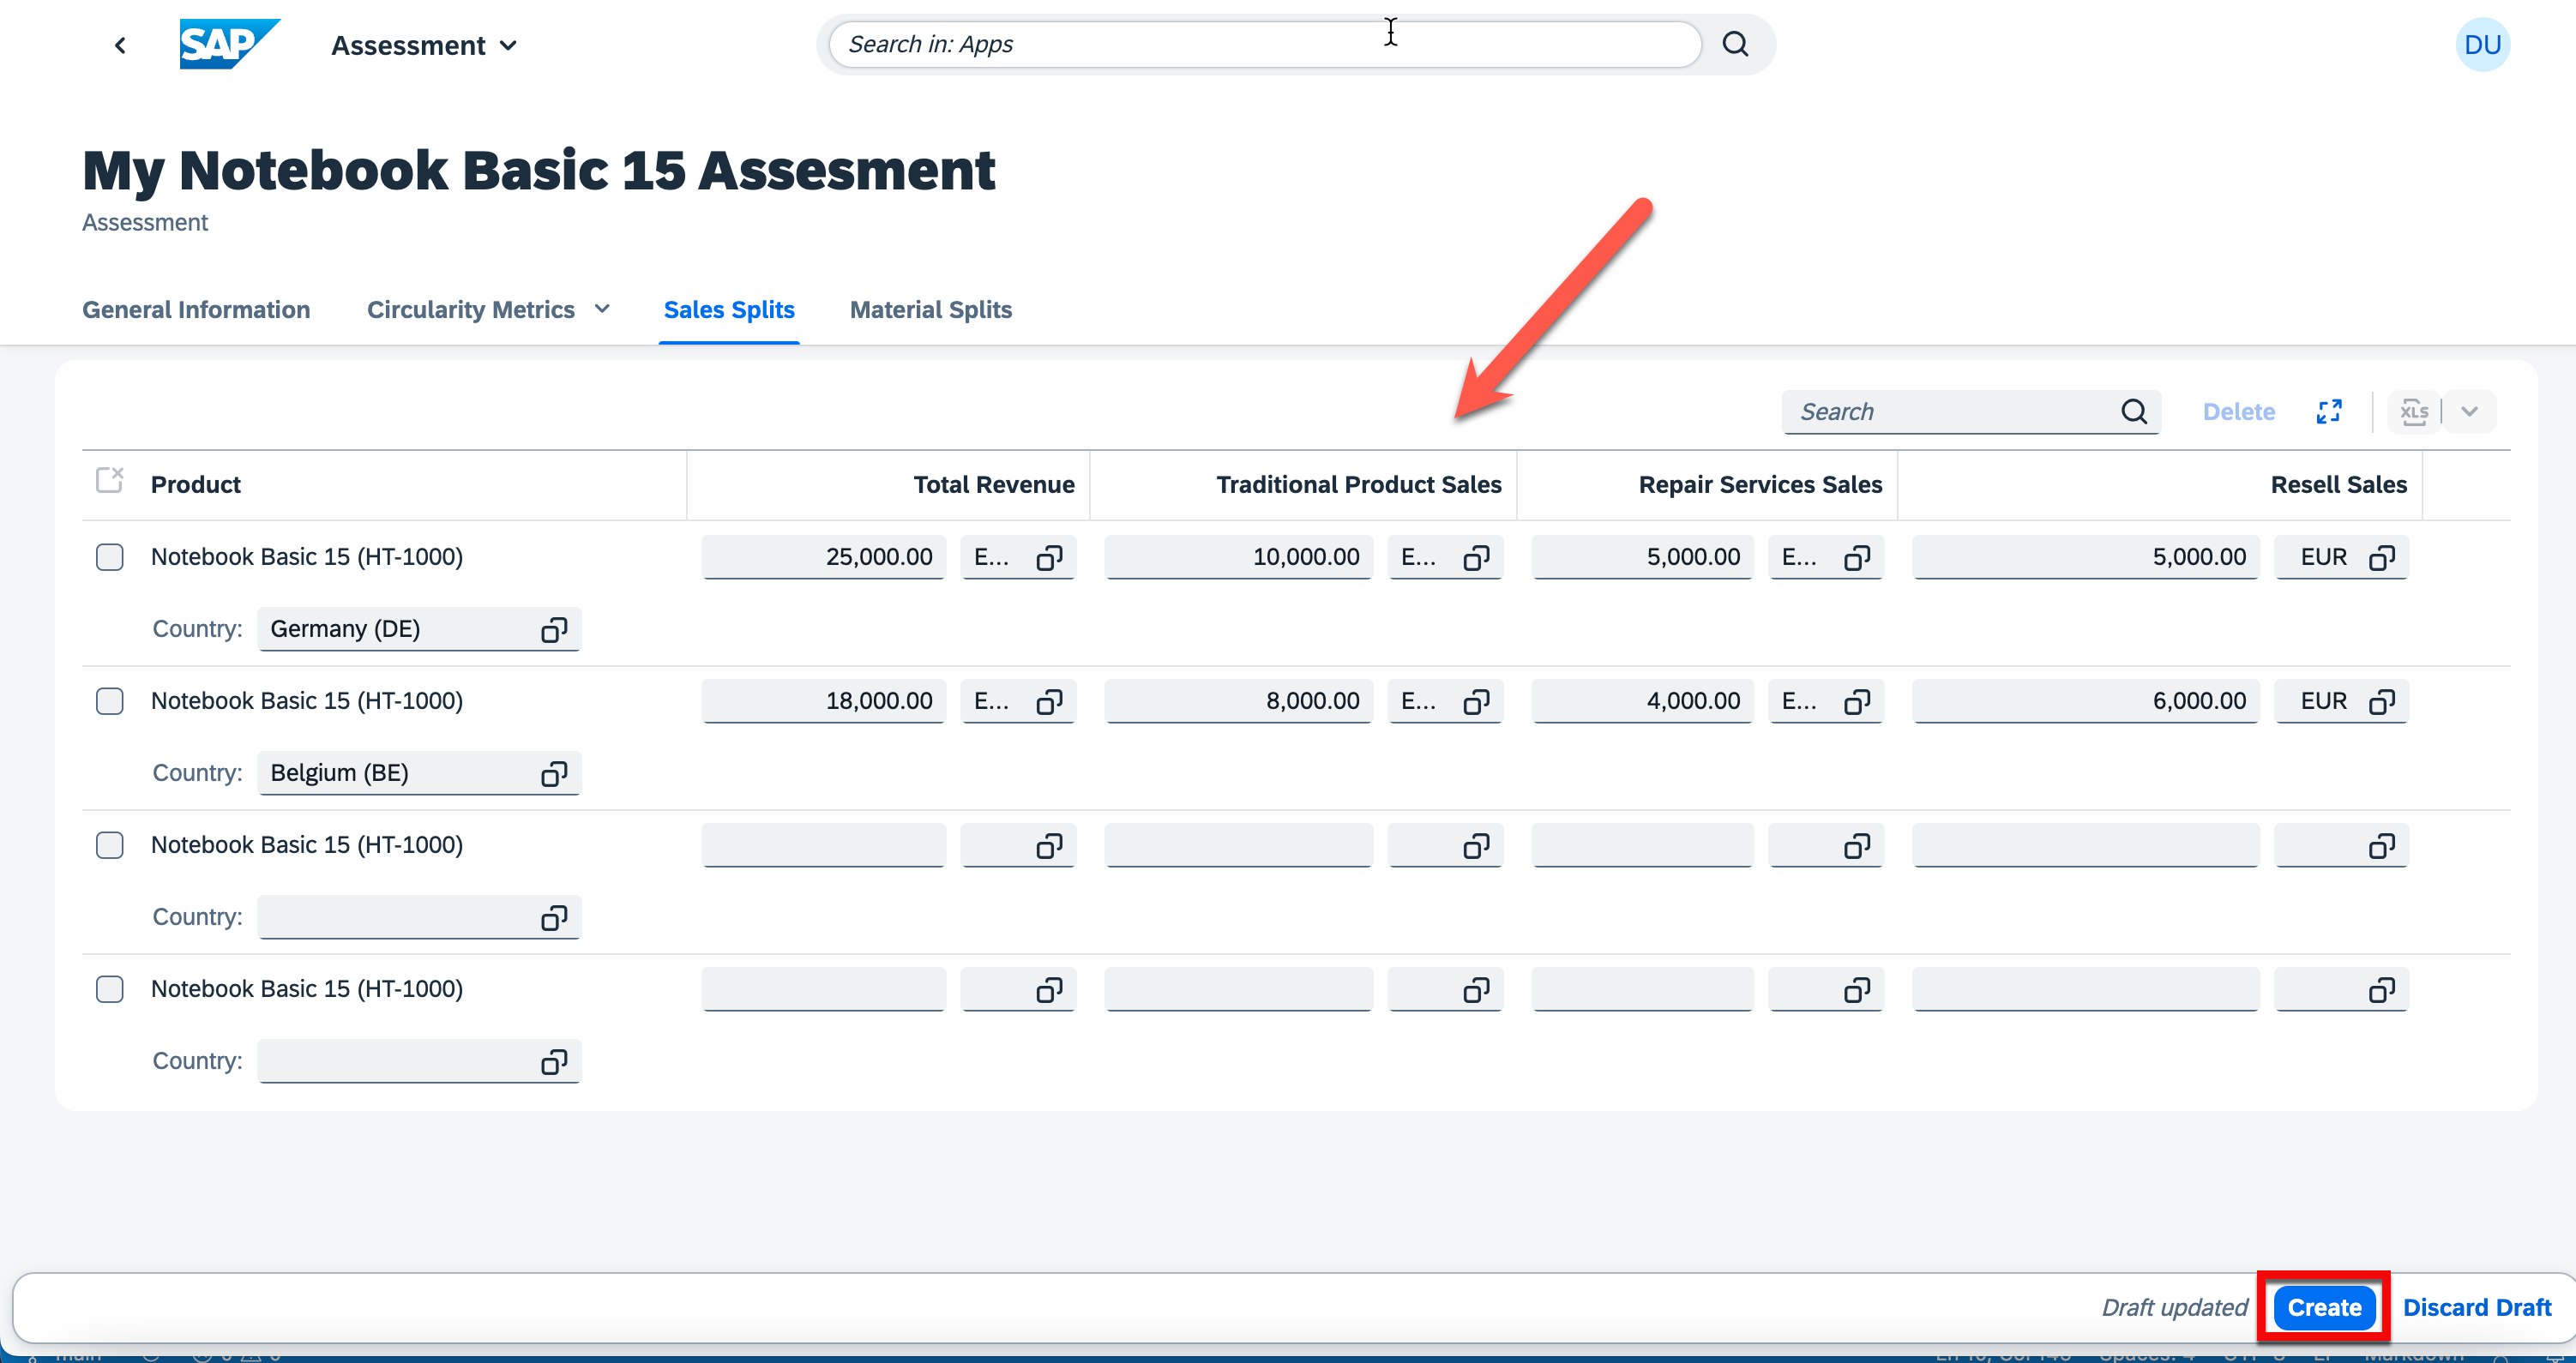
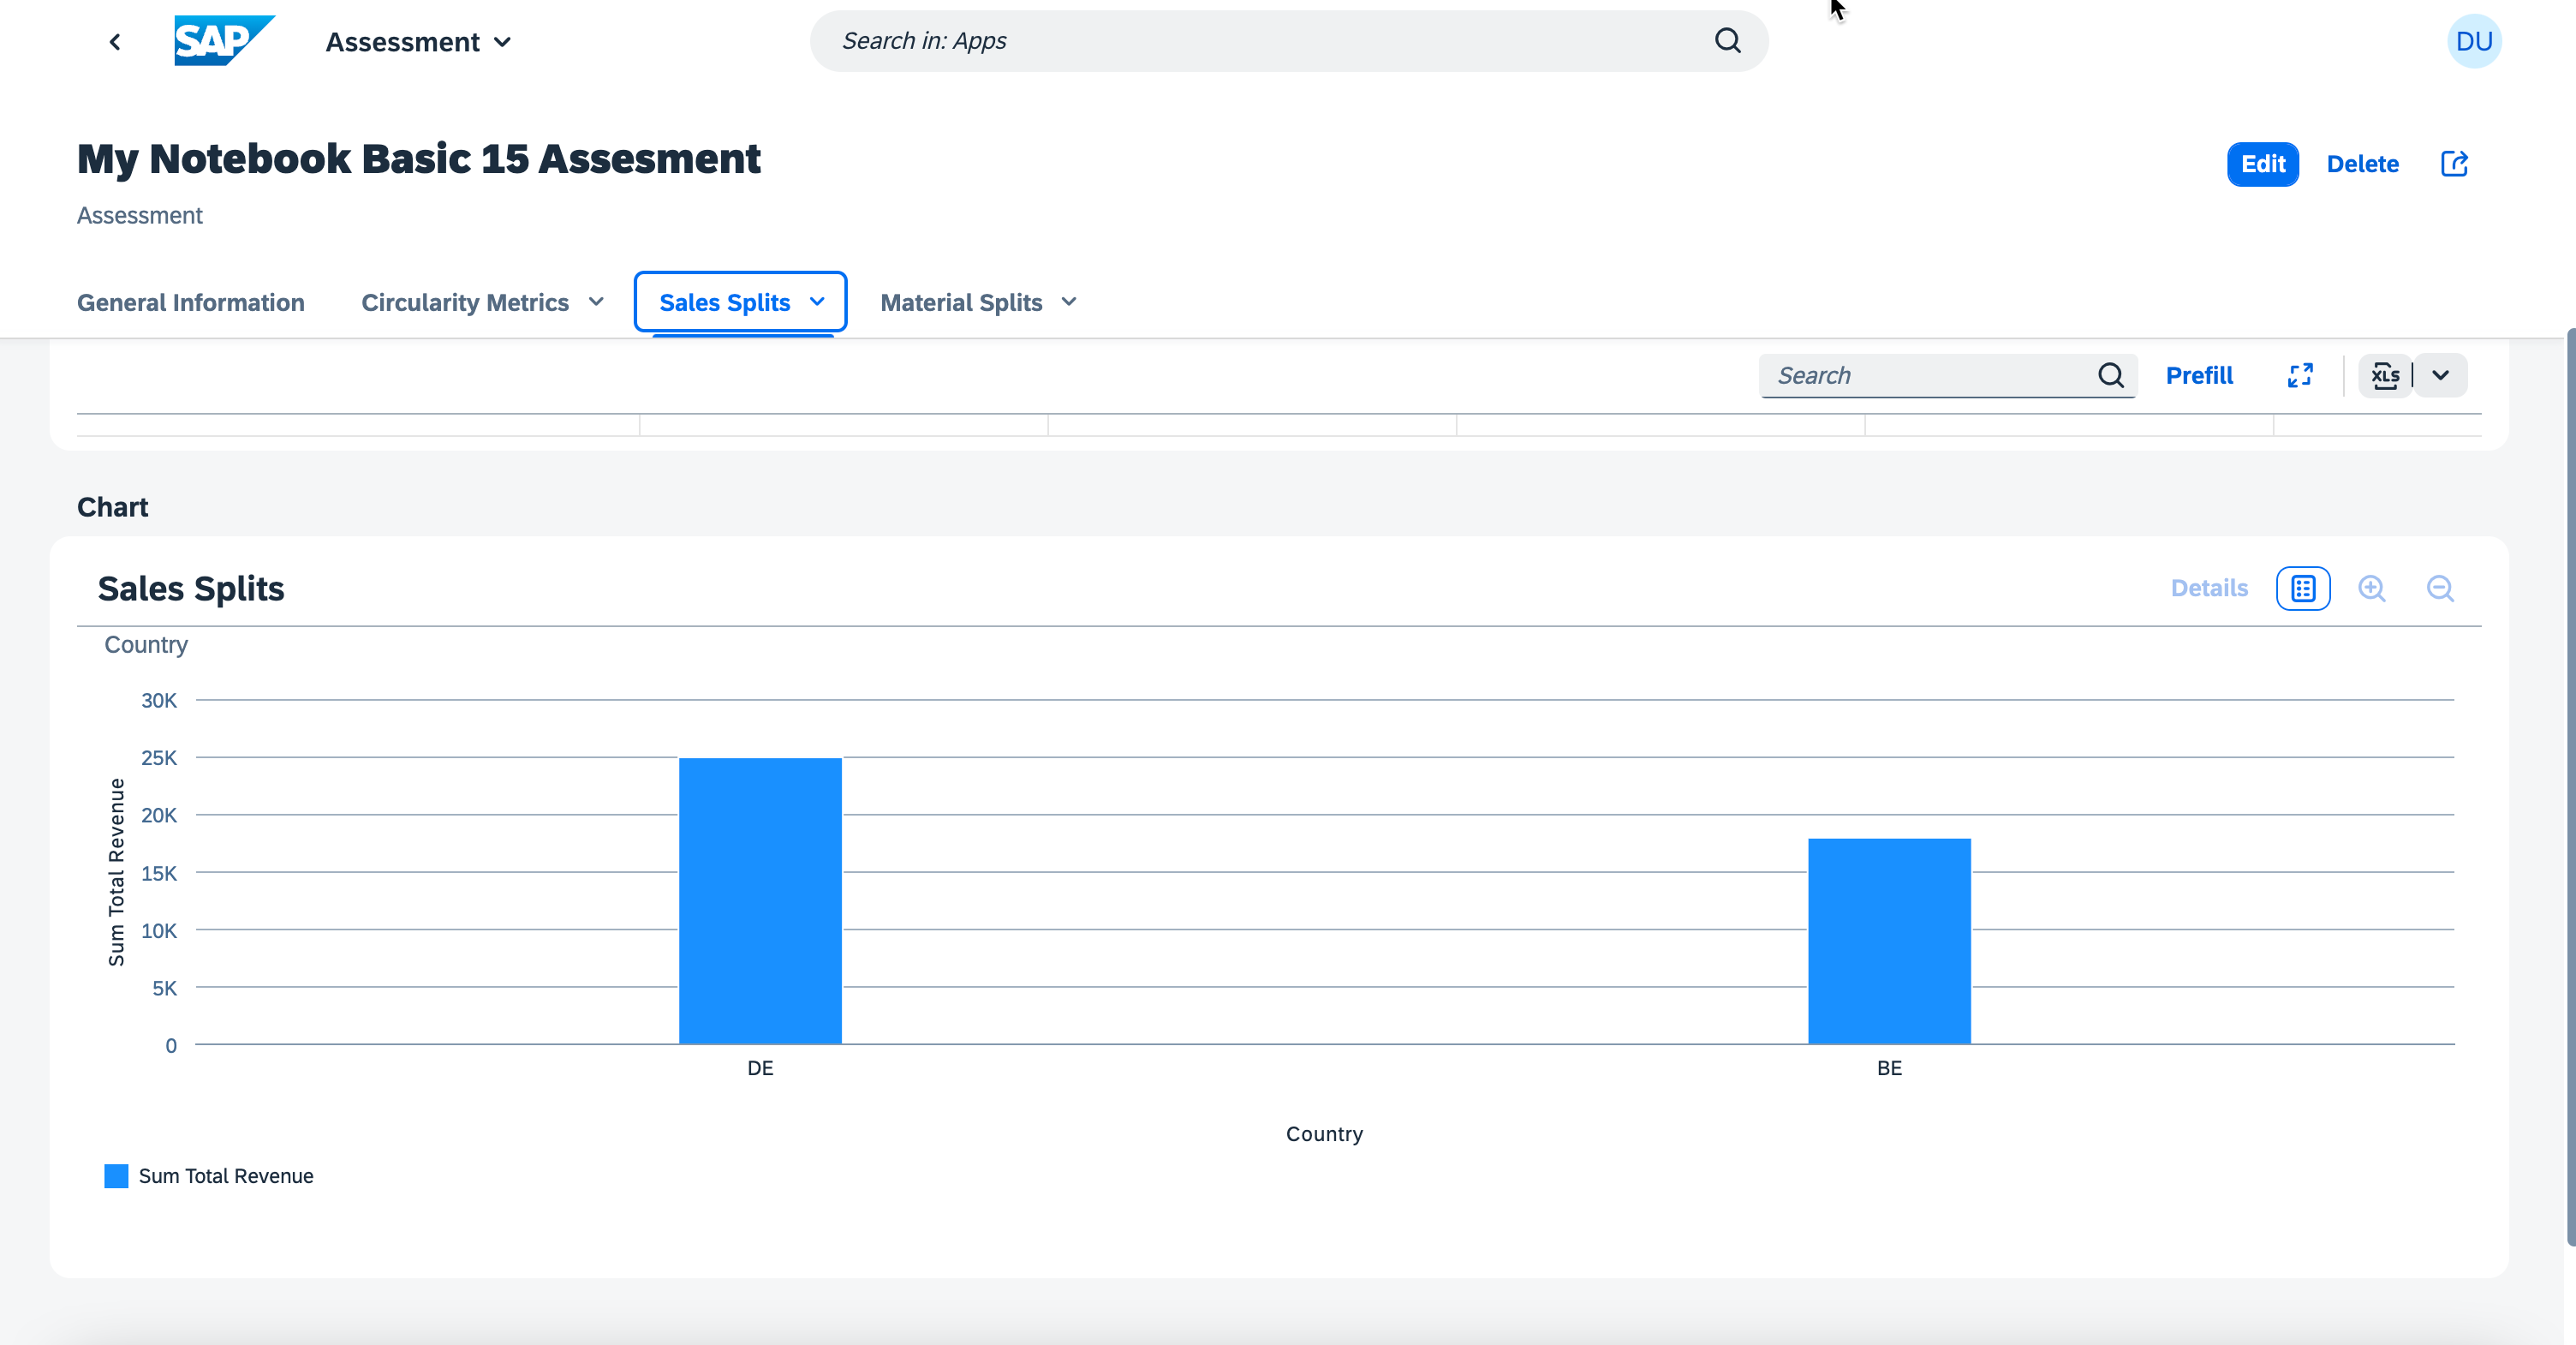
3.6. Switch to the Sales Splits tab and then click Edit to add sales split values.

3.7. Add some sample sales split values as shown below and press Save.
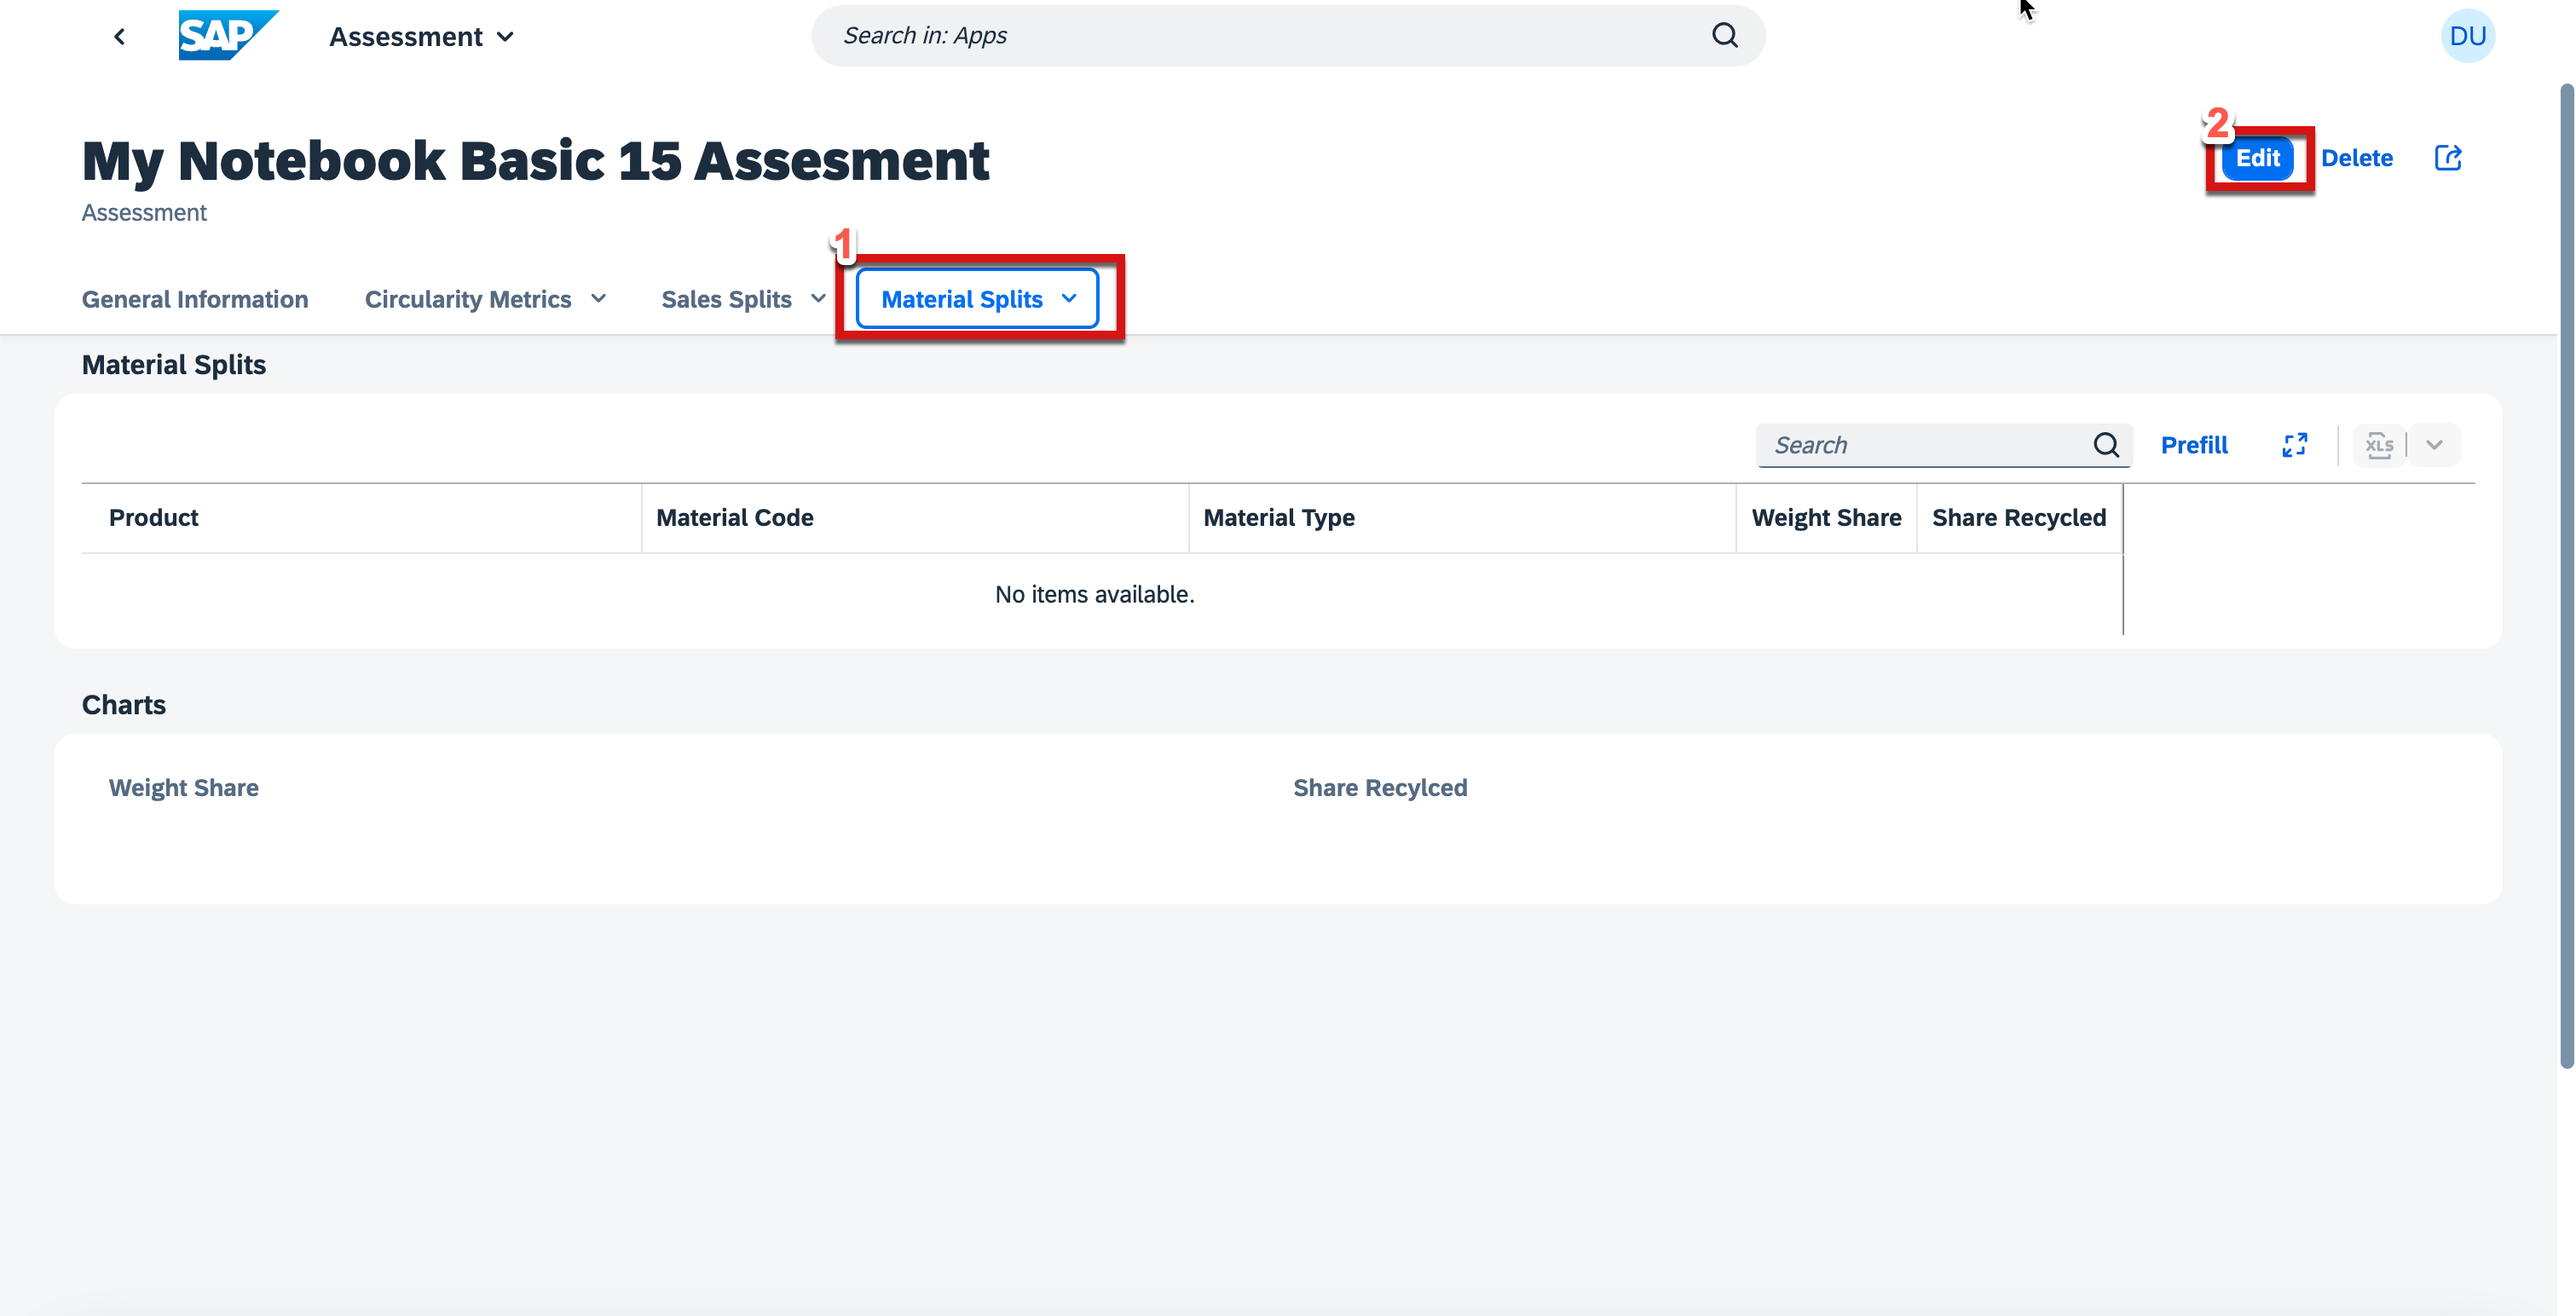
3.8. Switch to the Material Splits tab and then click Edit to add material split values.
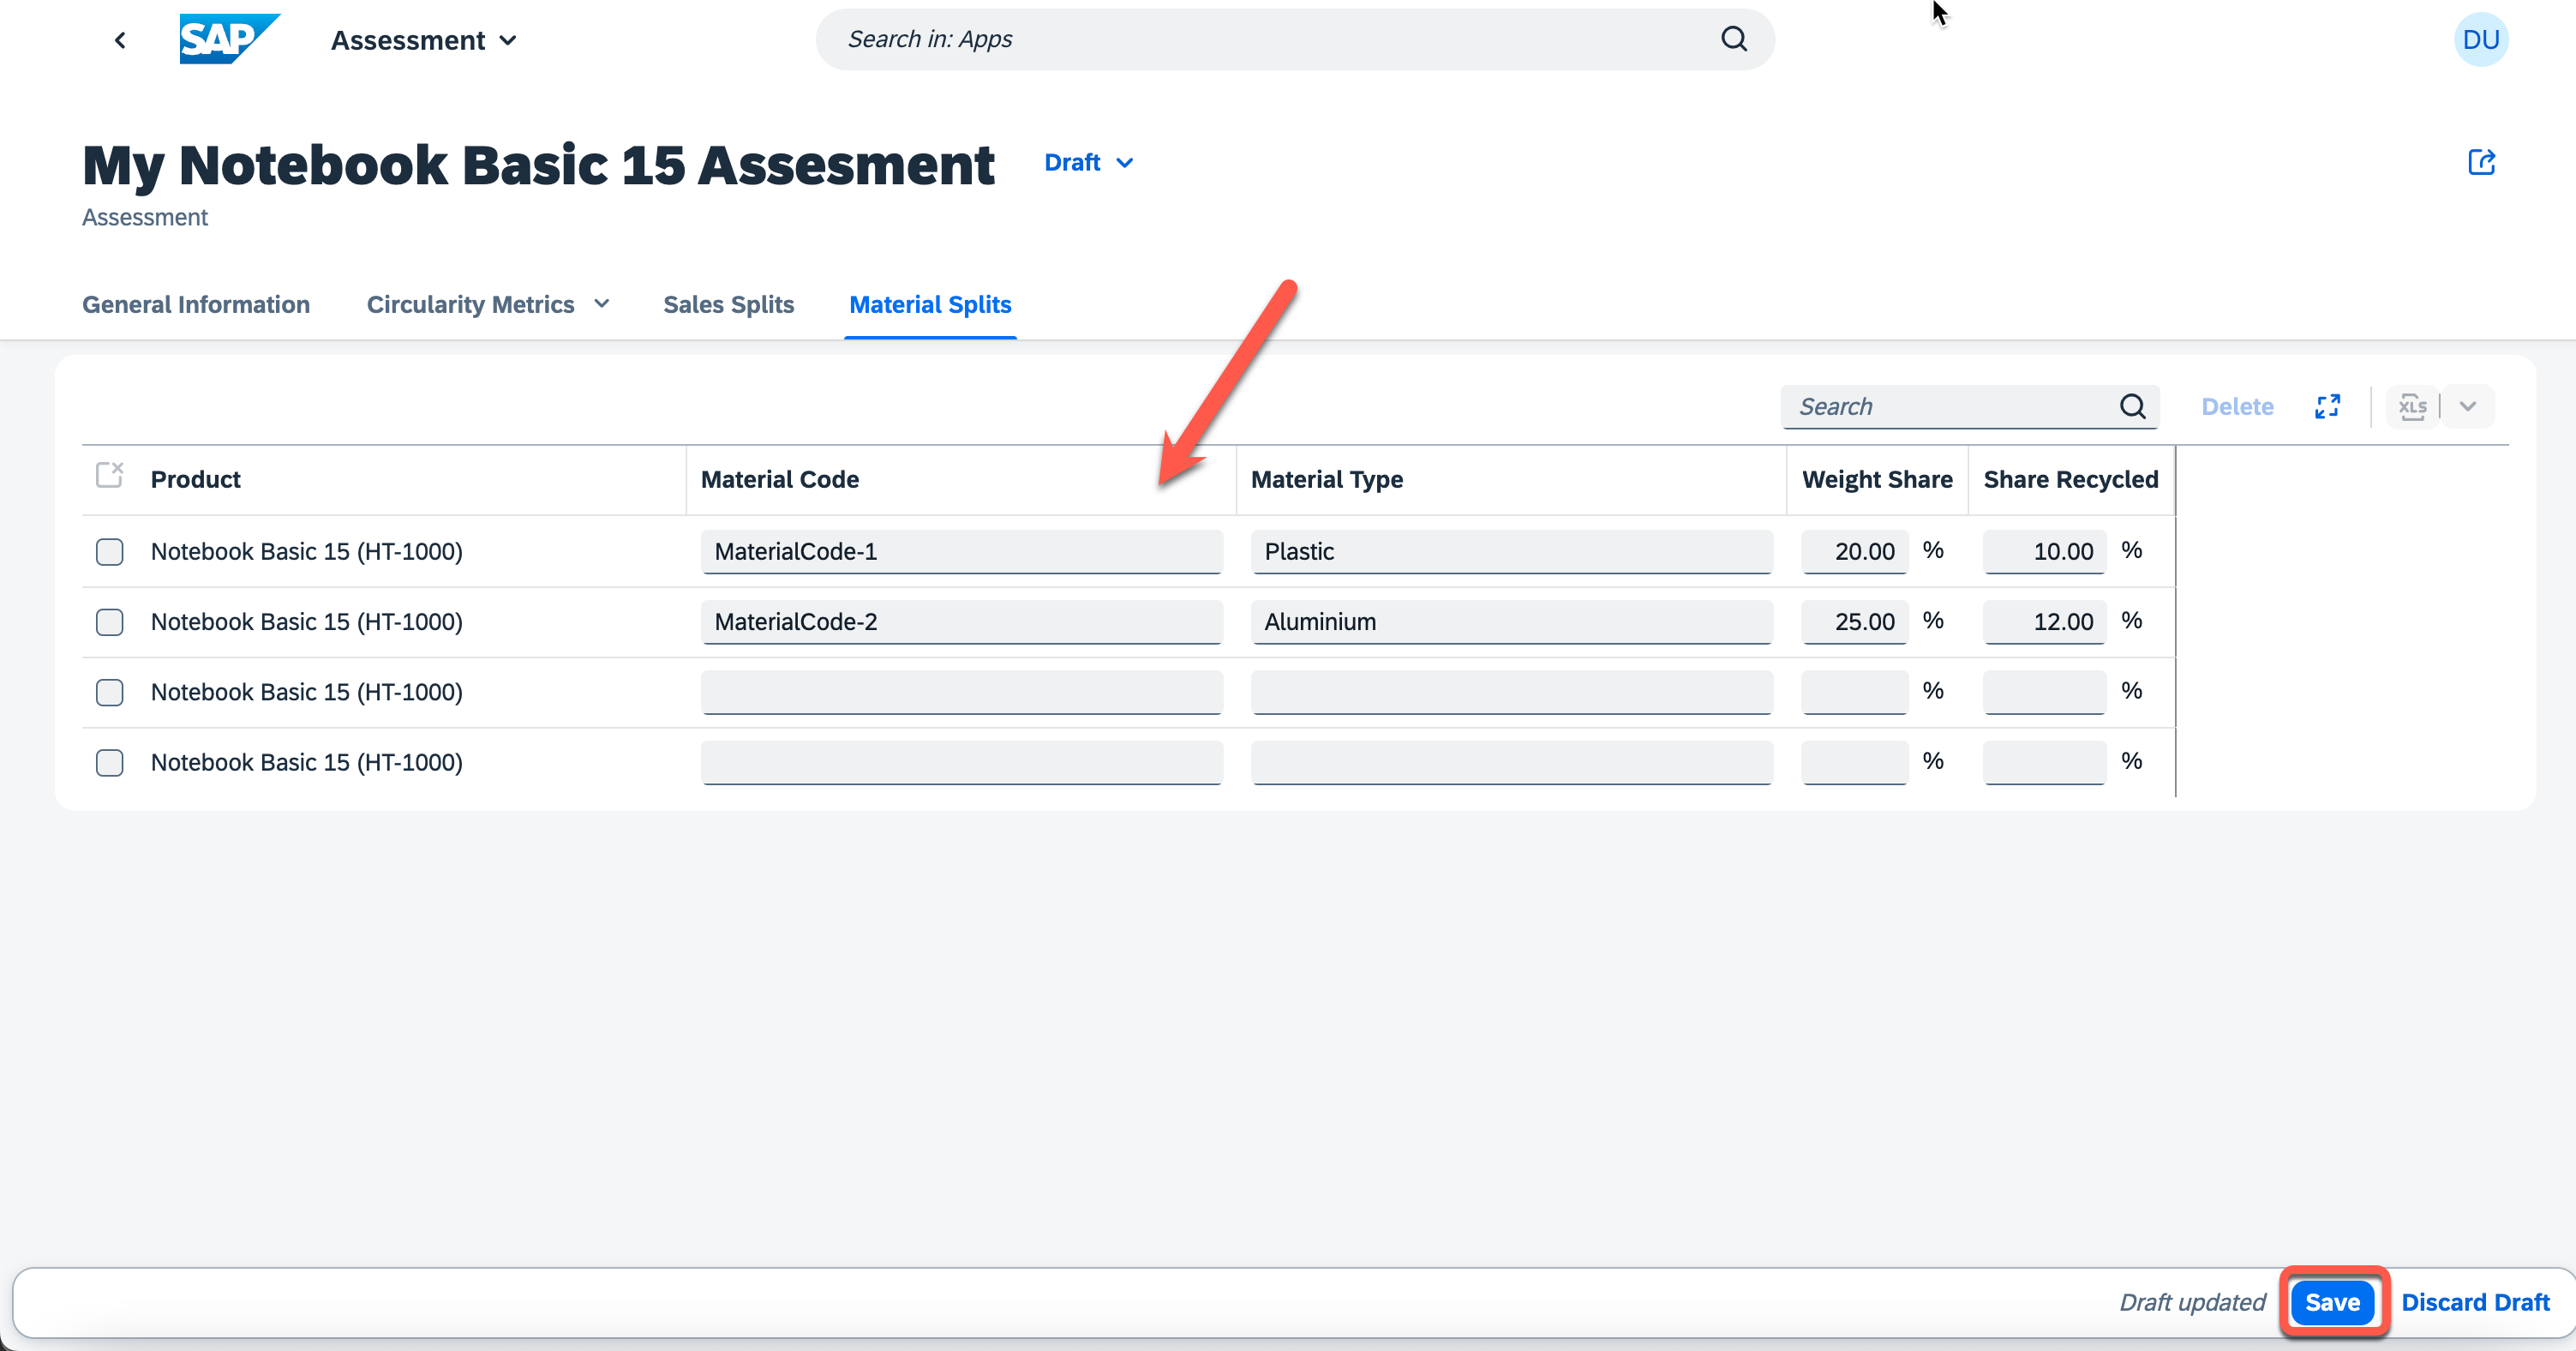
3.9. Add some sample material split values as shown below and press save.
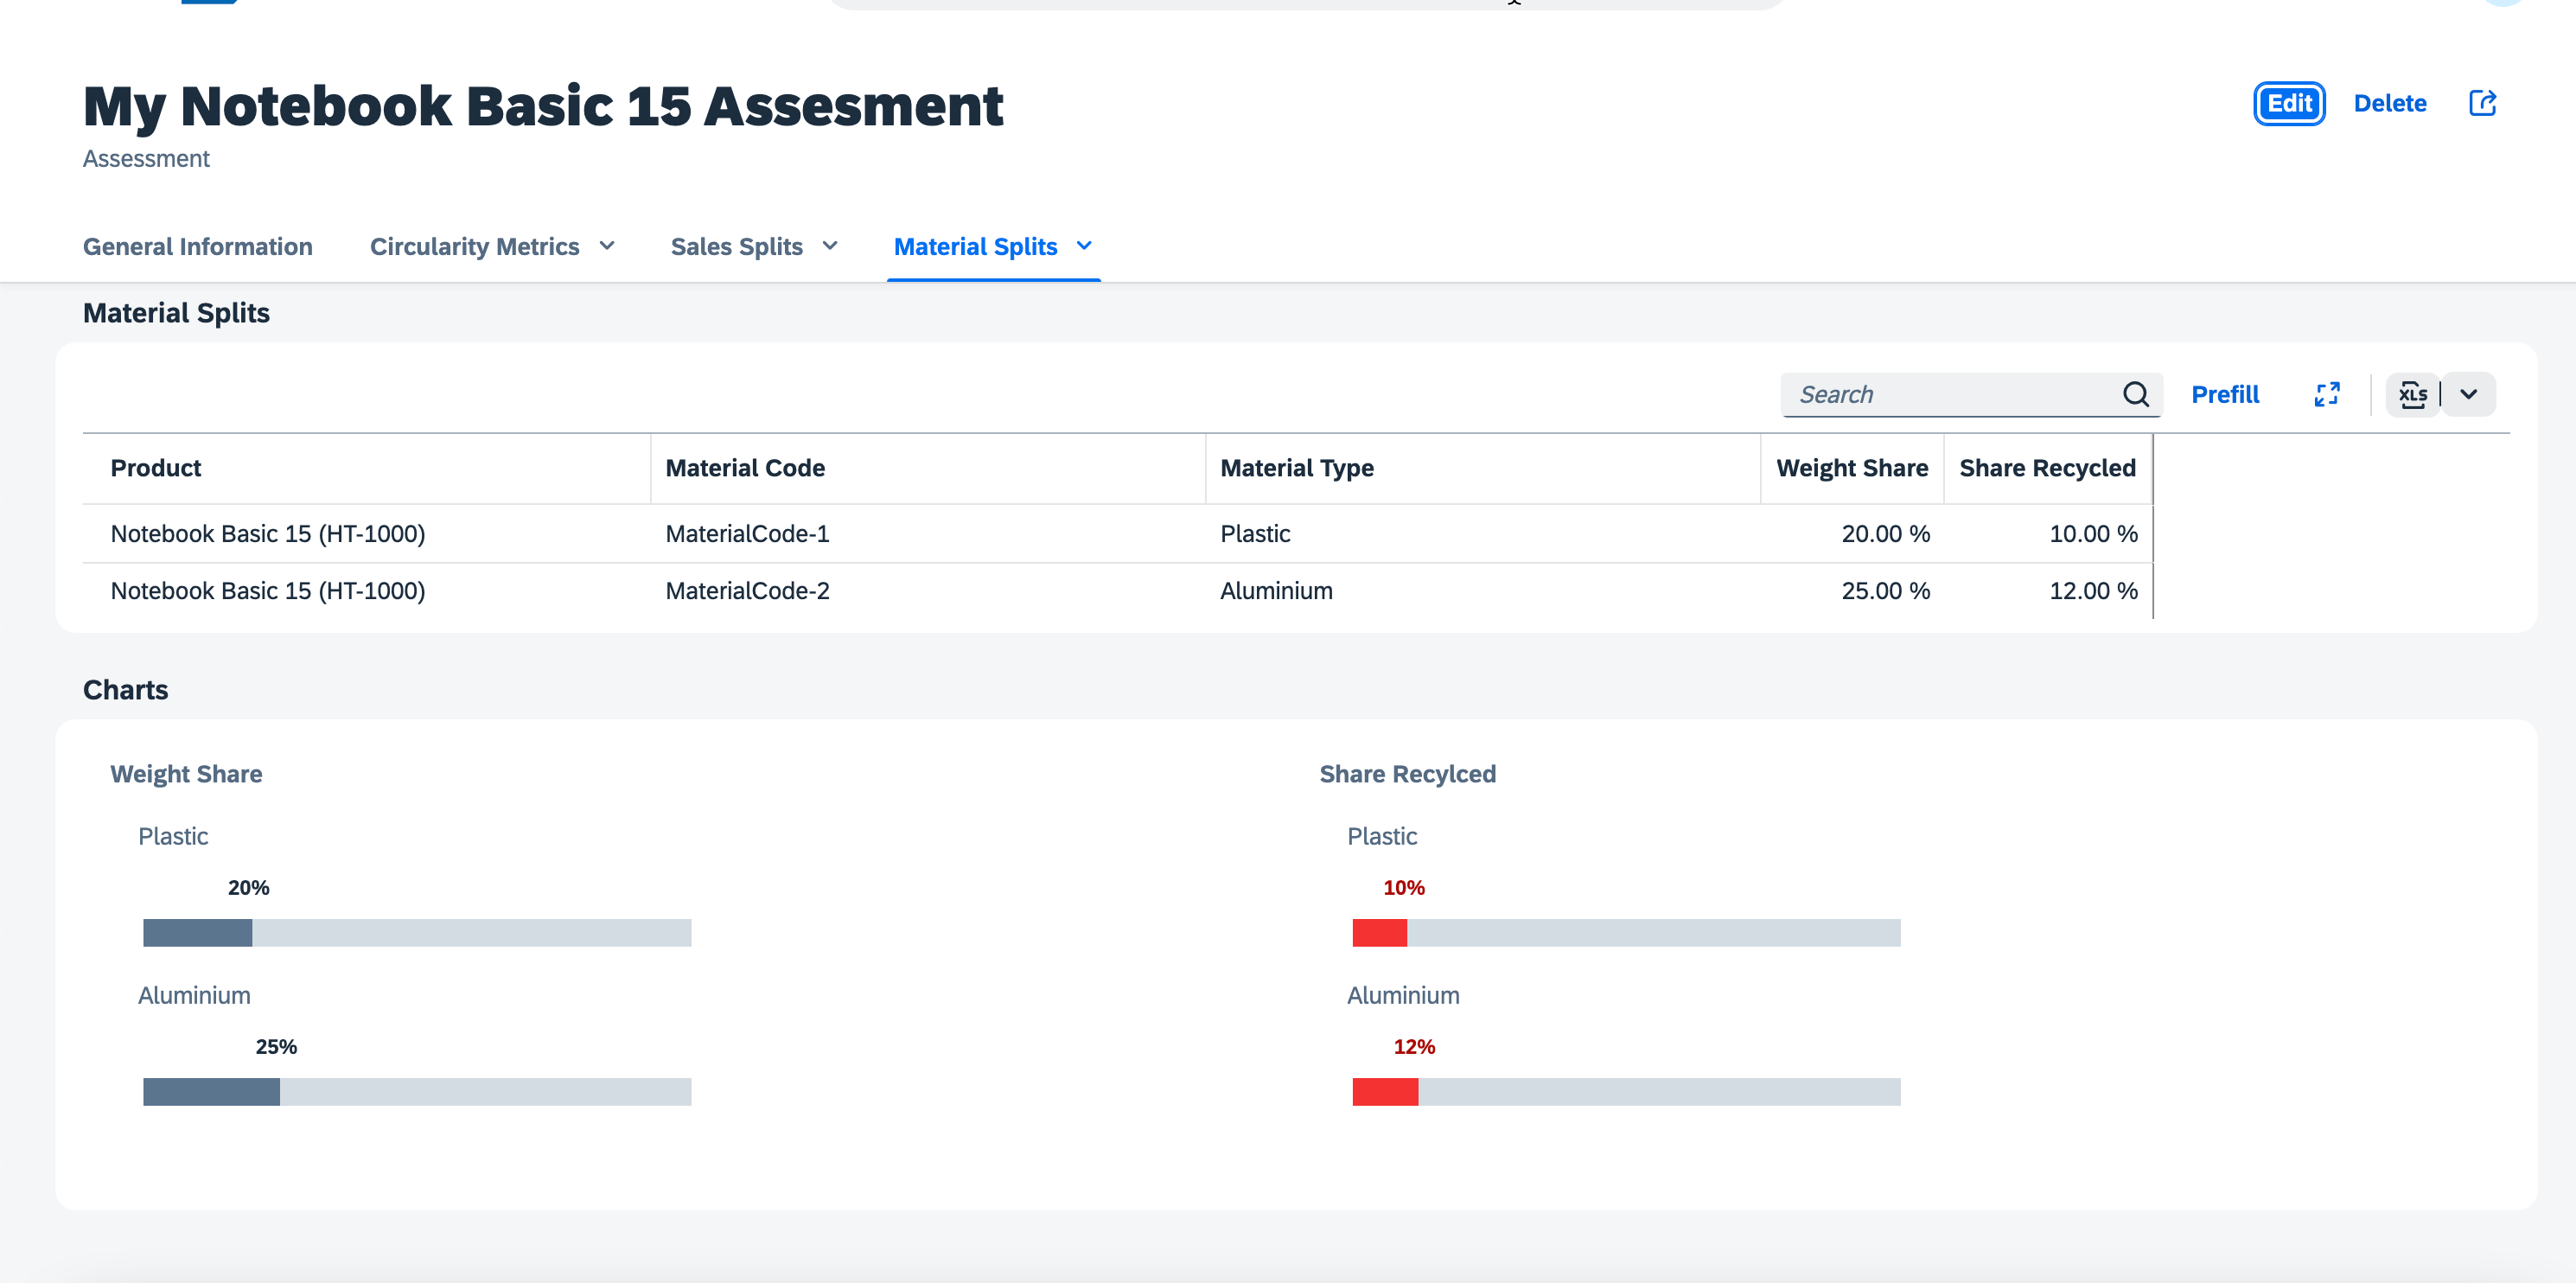
Summary of your Assessment
Material Splits
Sales Splits
Circularity Metrics
Usage of the prefill feature
Feel free to make use of the Prefill button available in each Assessment tab. In case you've provided respective sample data in the Push data to the SaaS API part of this tutorial (click here), the prefill feature will fill your tables with the respective values.
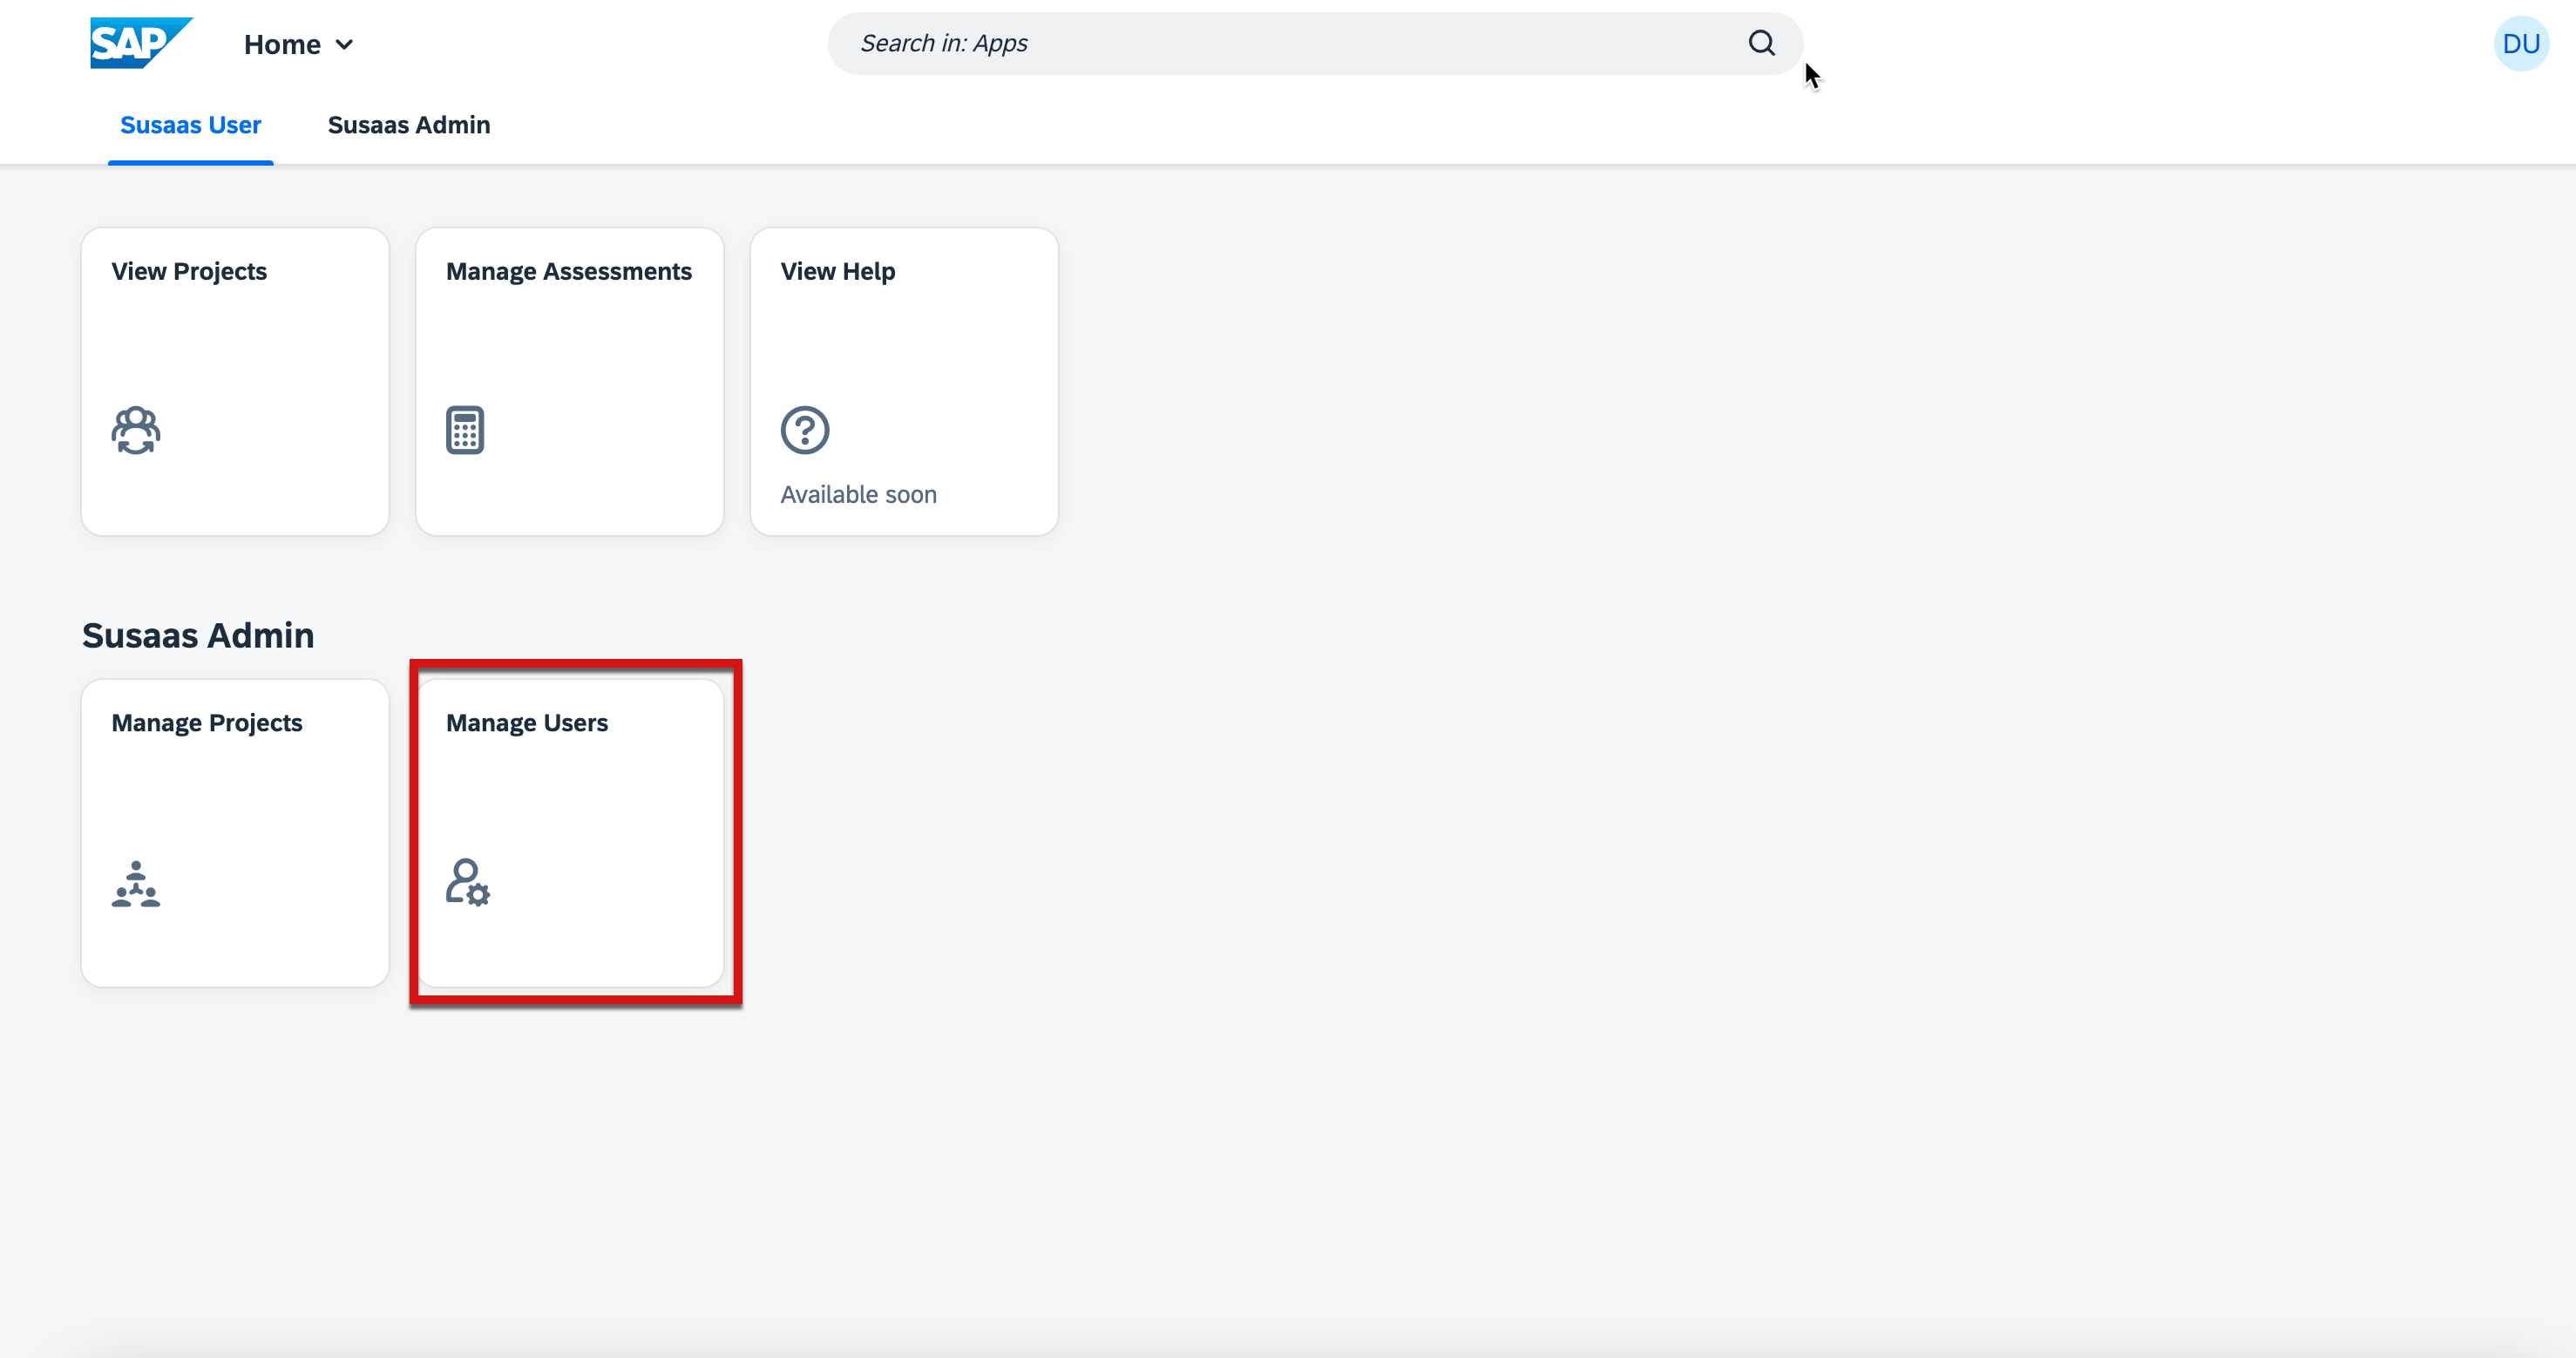
4. Create a Member User
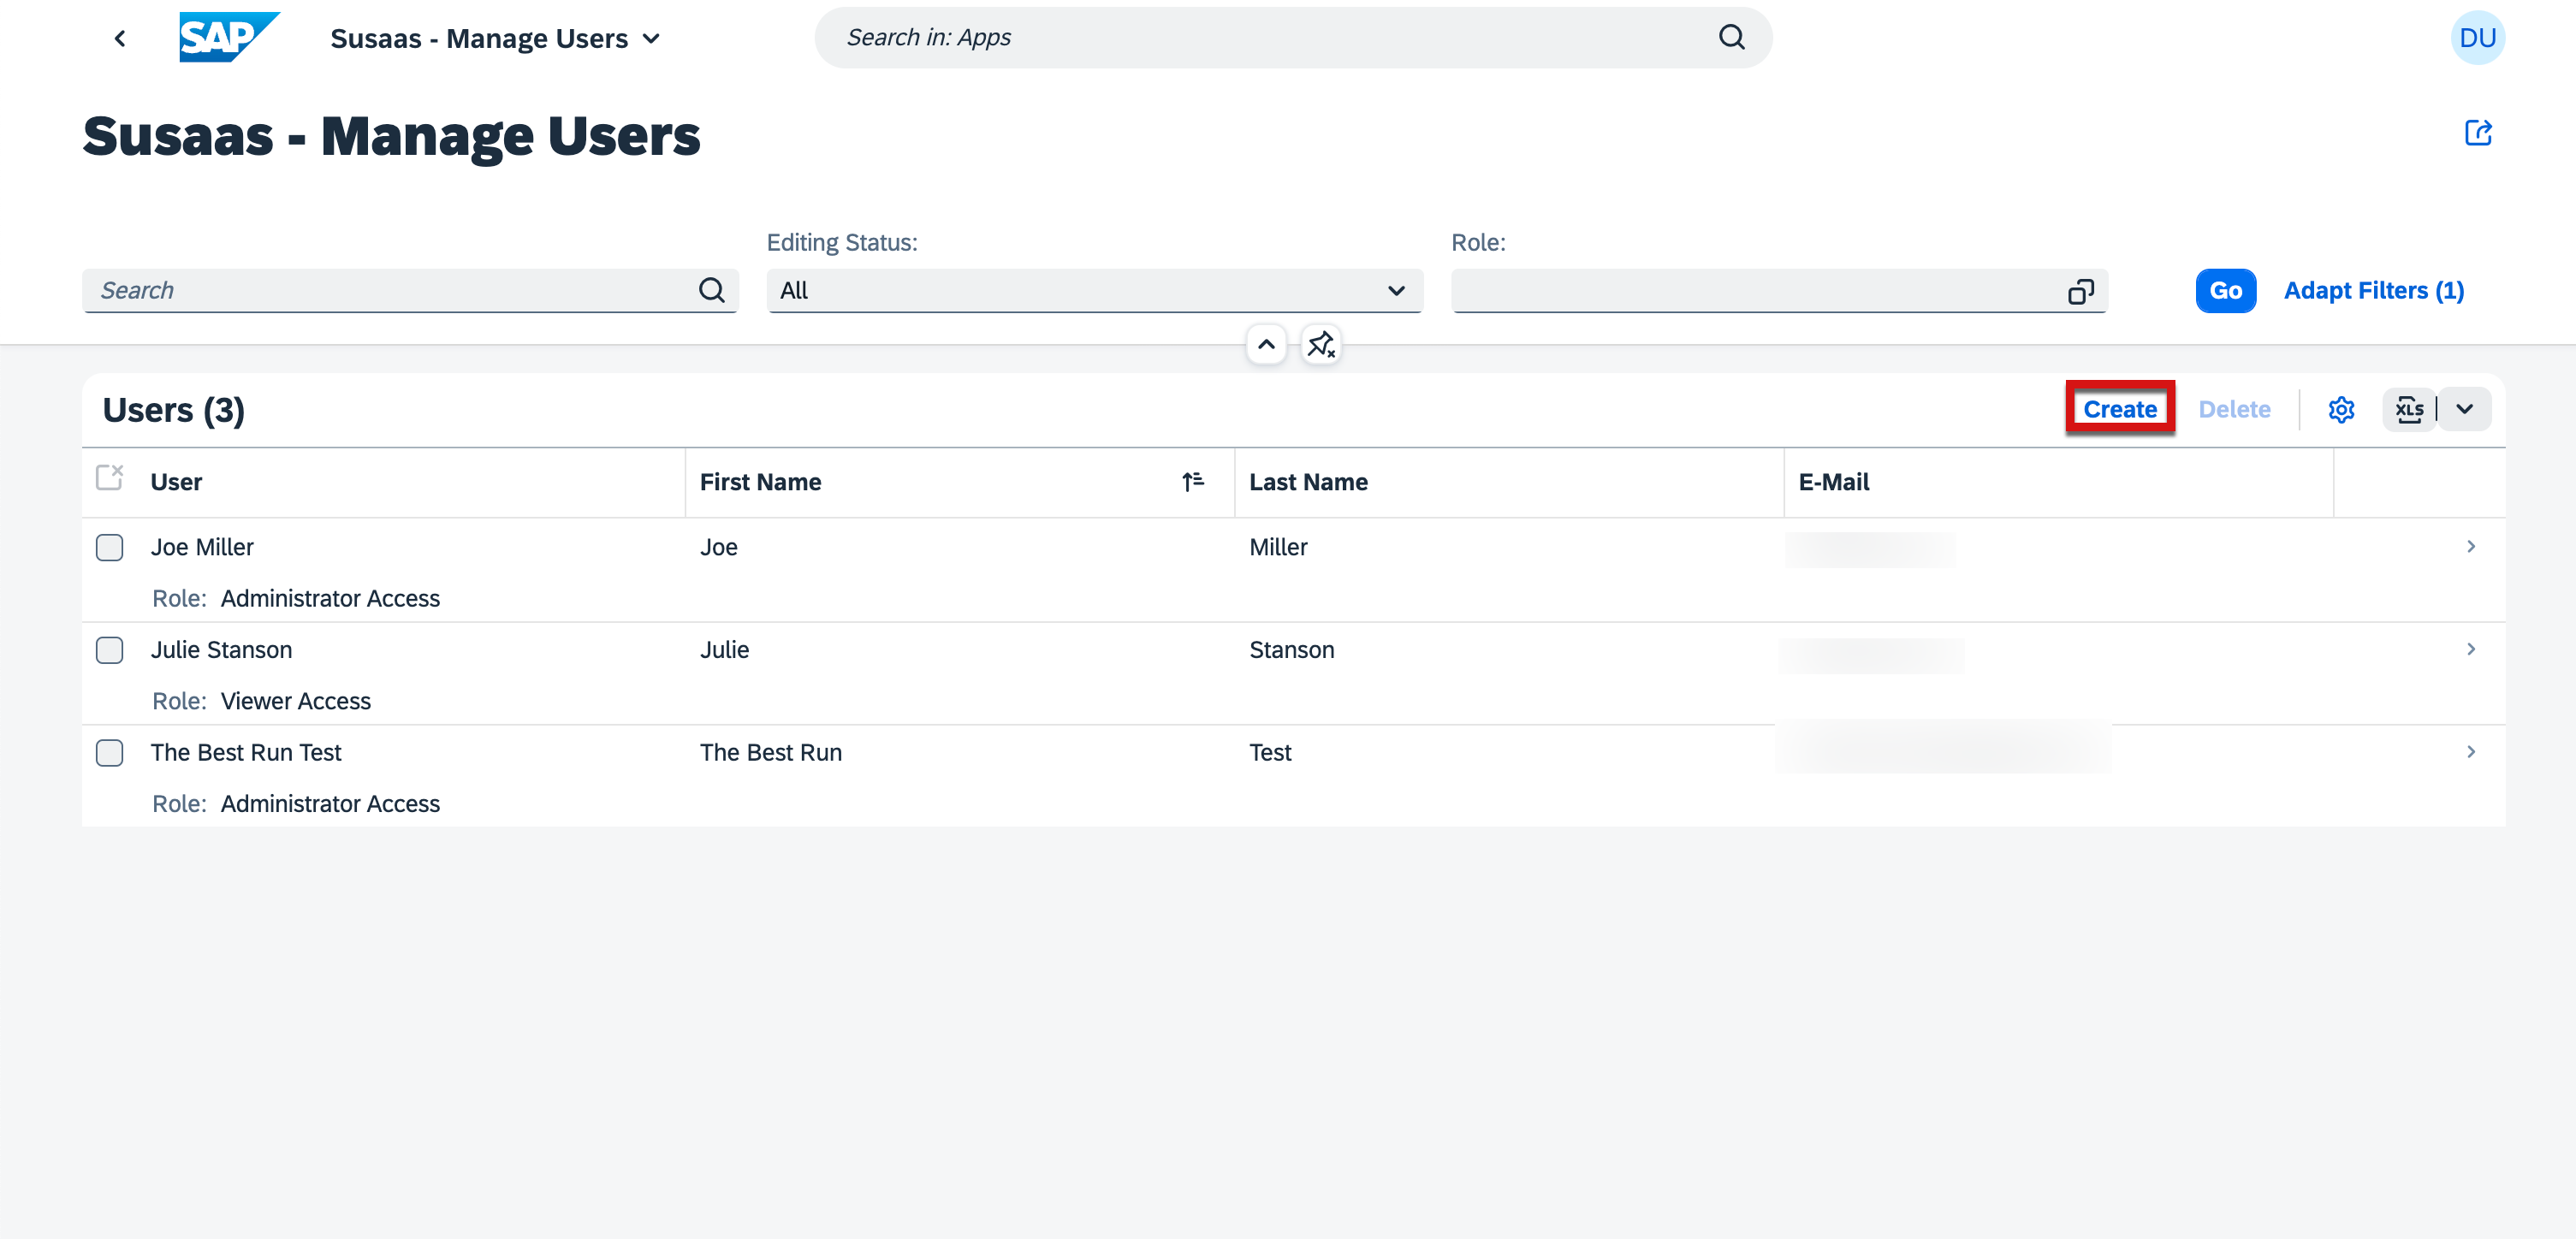
4.1. Go to the homepage of the application and press Manage Users.
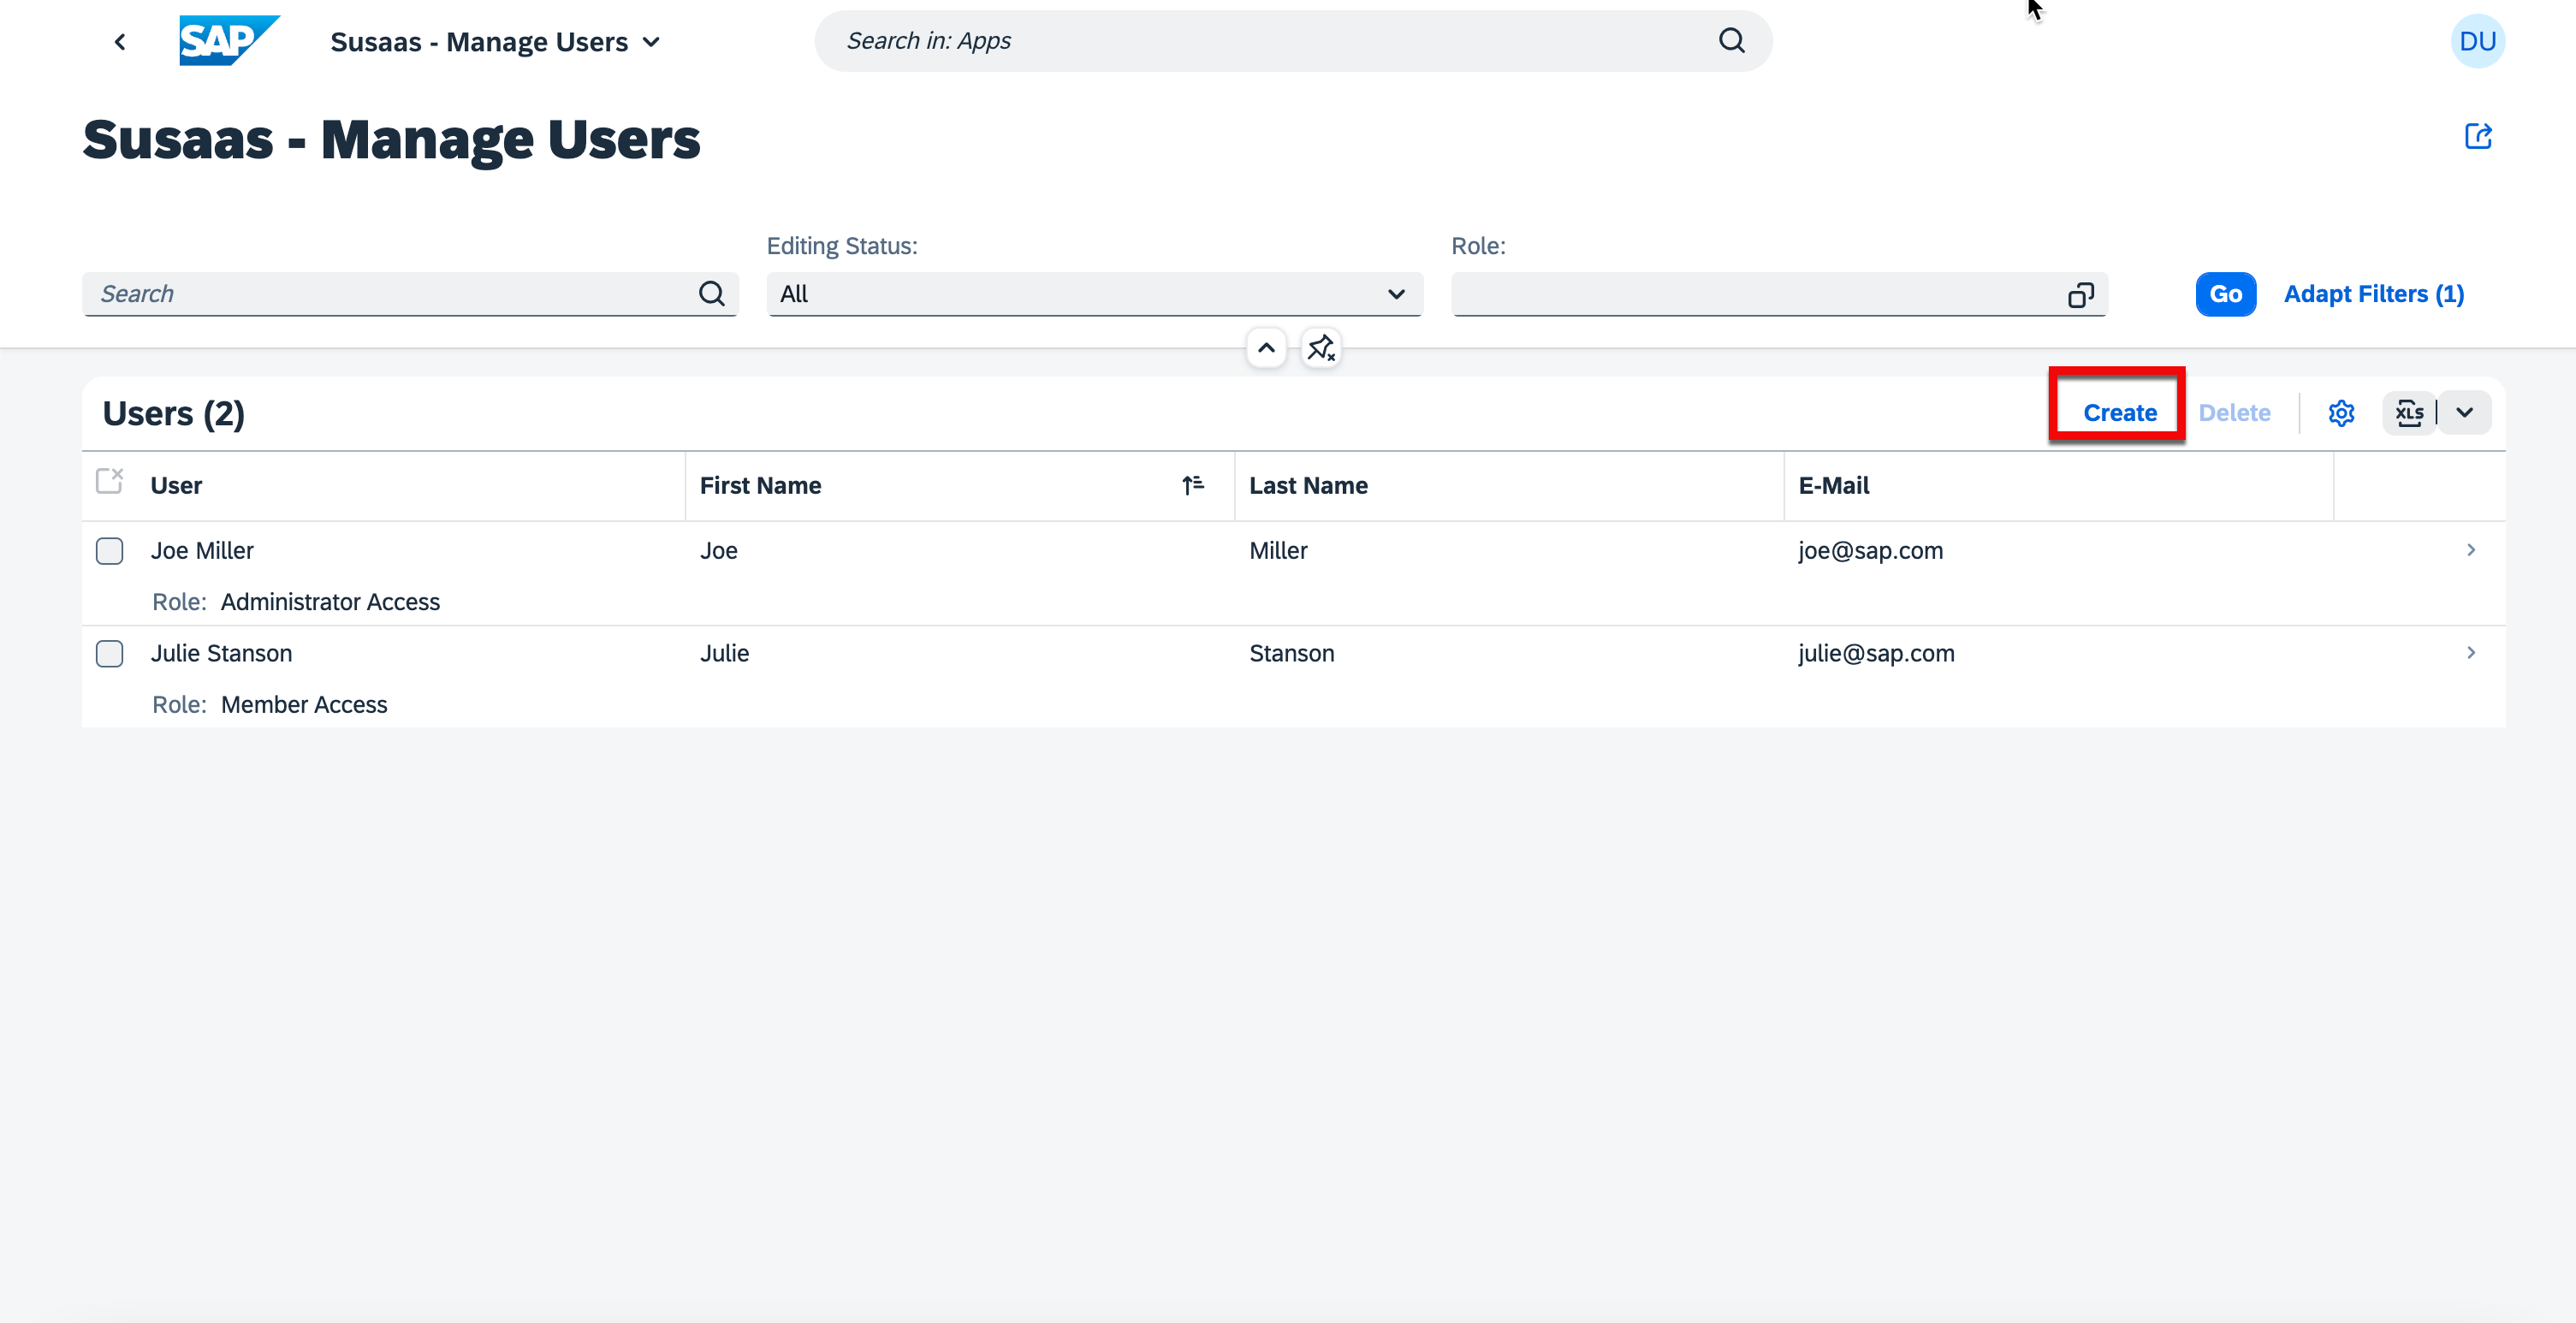
4.2. Click on Create button as shown below.
4.3. Fill in the mandatory values as shown below.
In the Basic Version the email given below should exist in SAP ID Service.

4.4. See the created user.
5. Add a Project Member
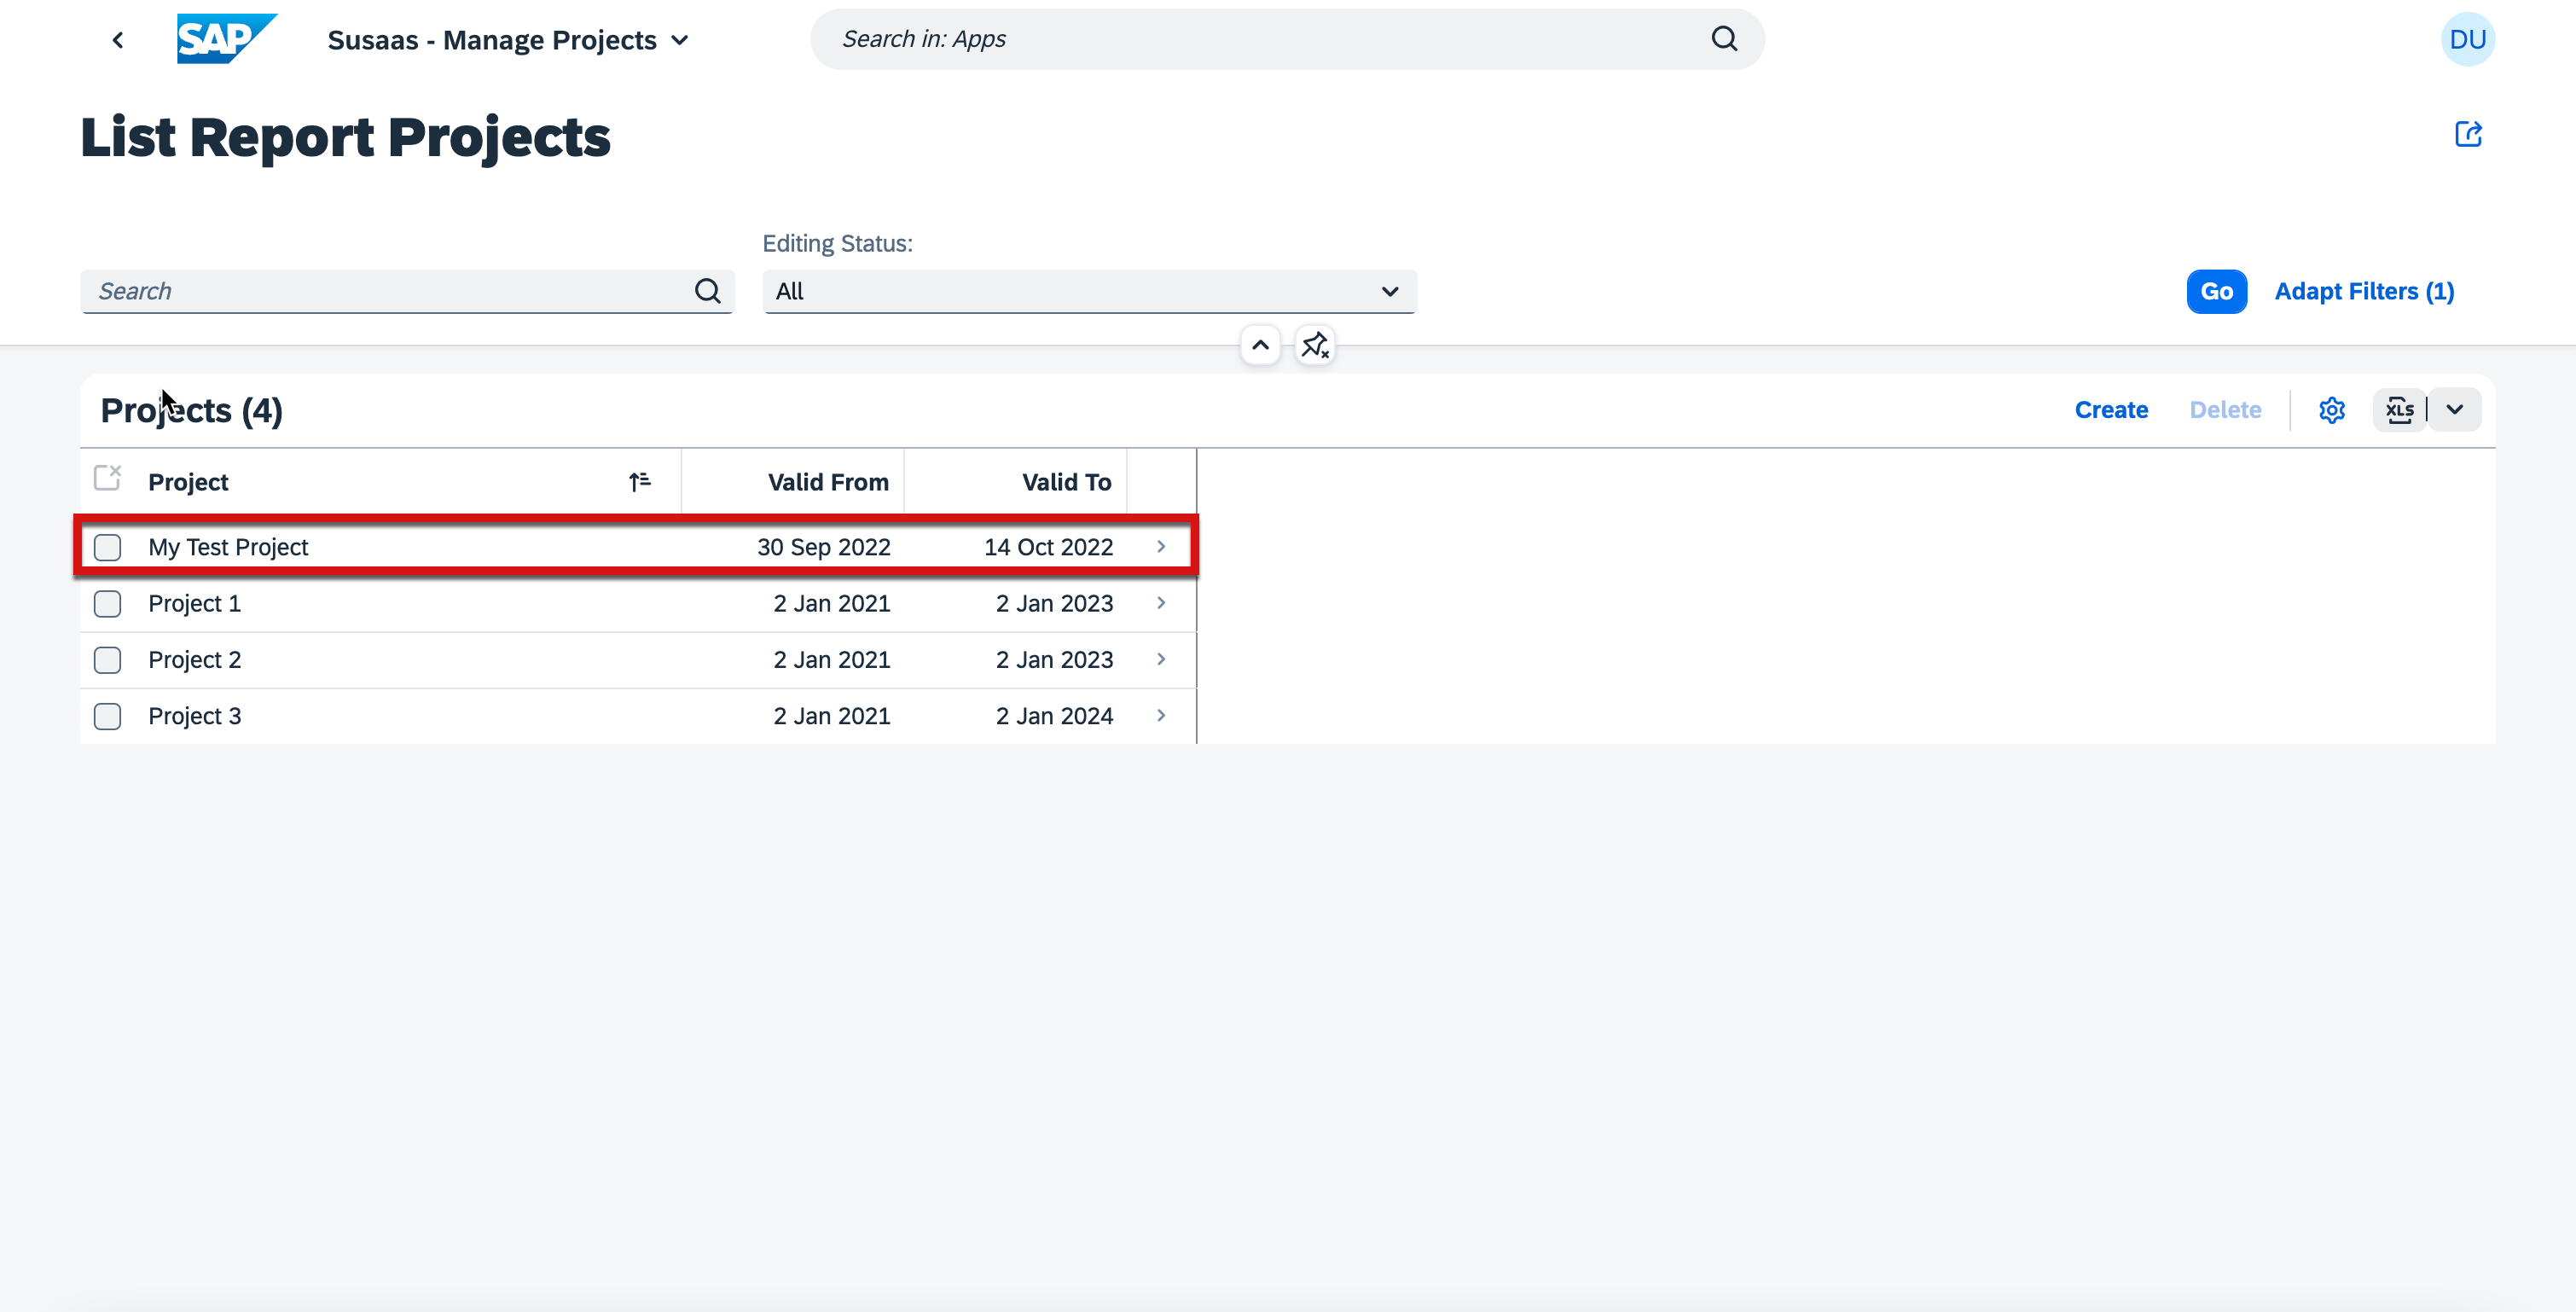
5.1. Go to the homepage of the application and press Manage Projects.
5.2. Select the My Test Project that you have created at the beginning.
5.3 Press Members section and then Edit button as shown below.
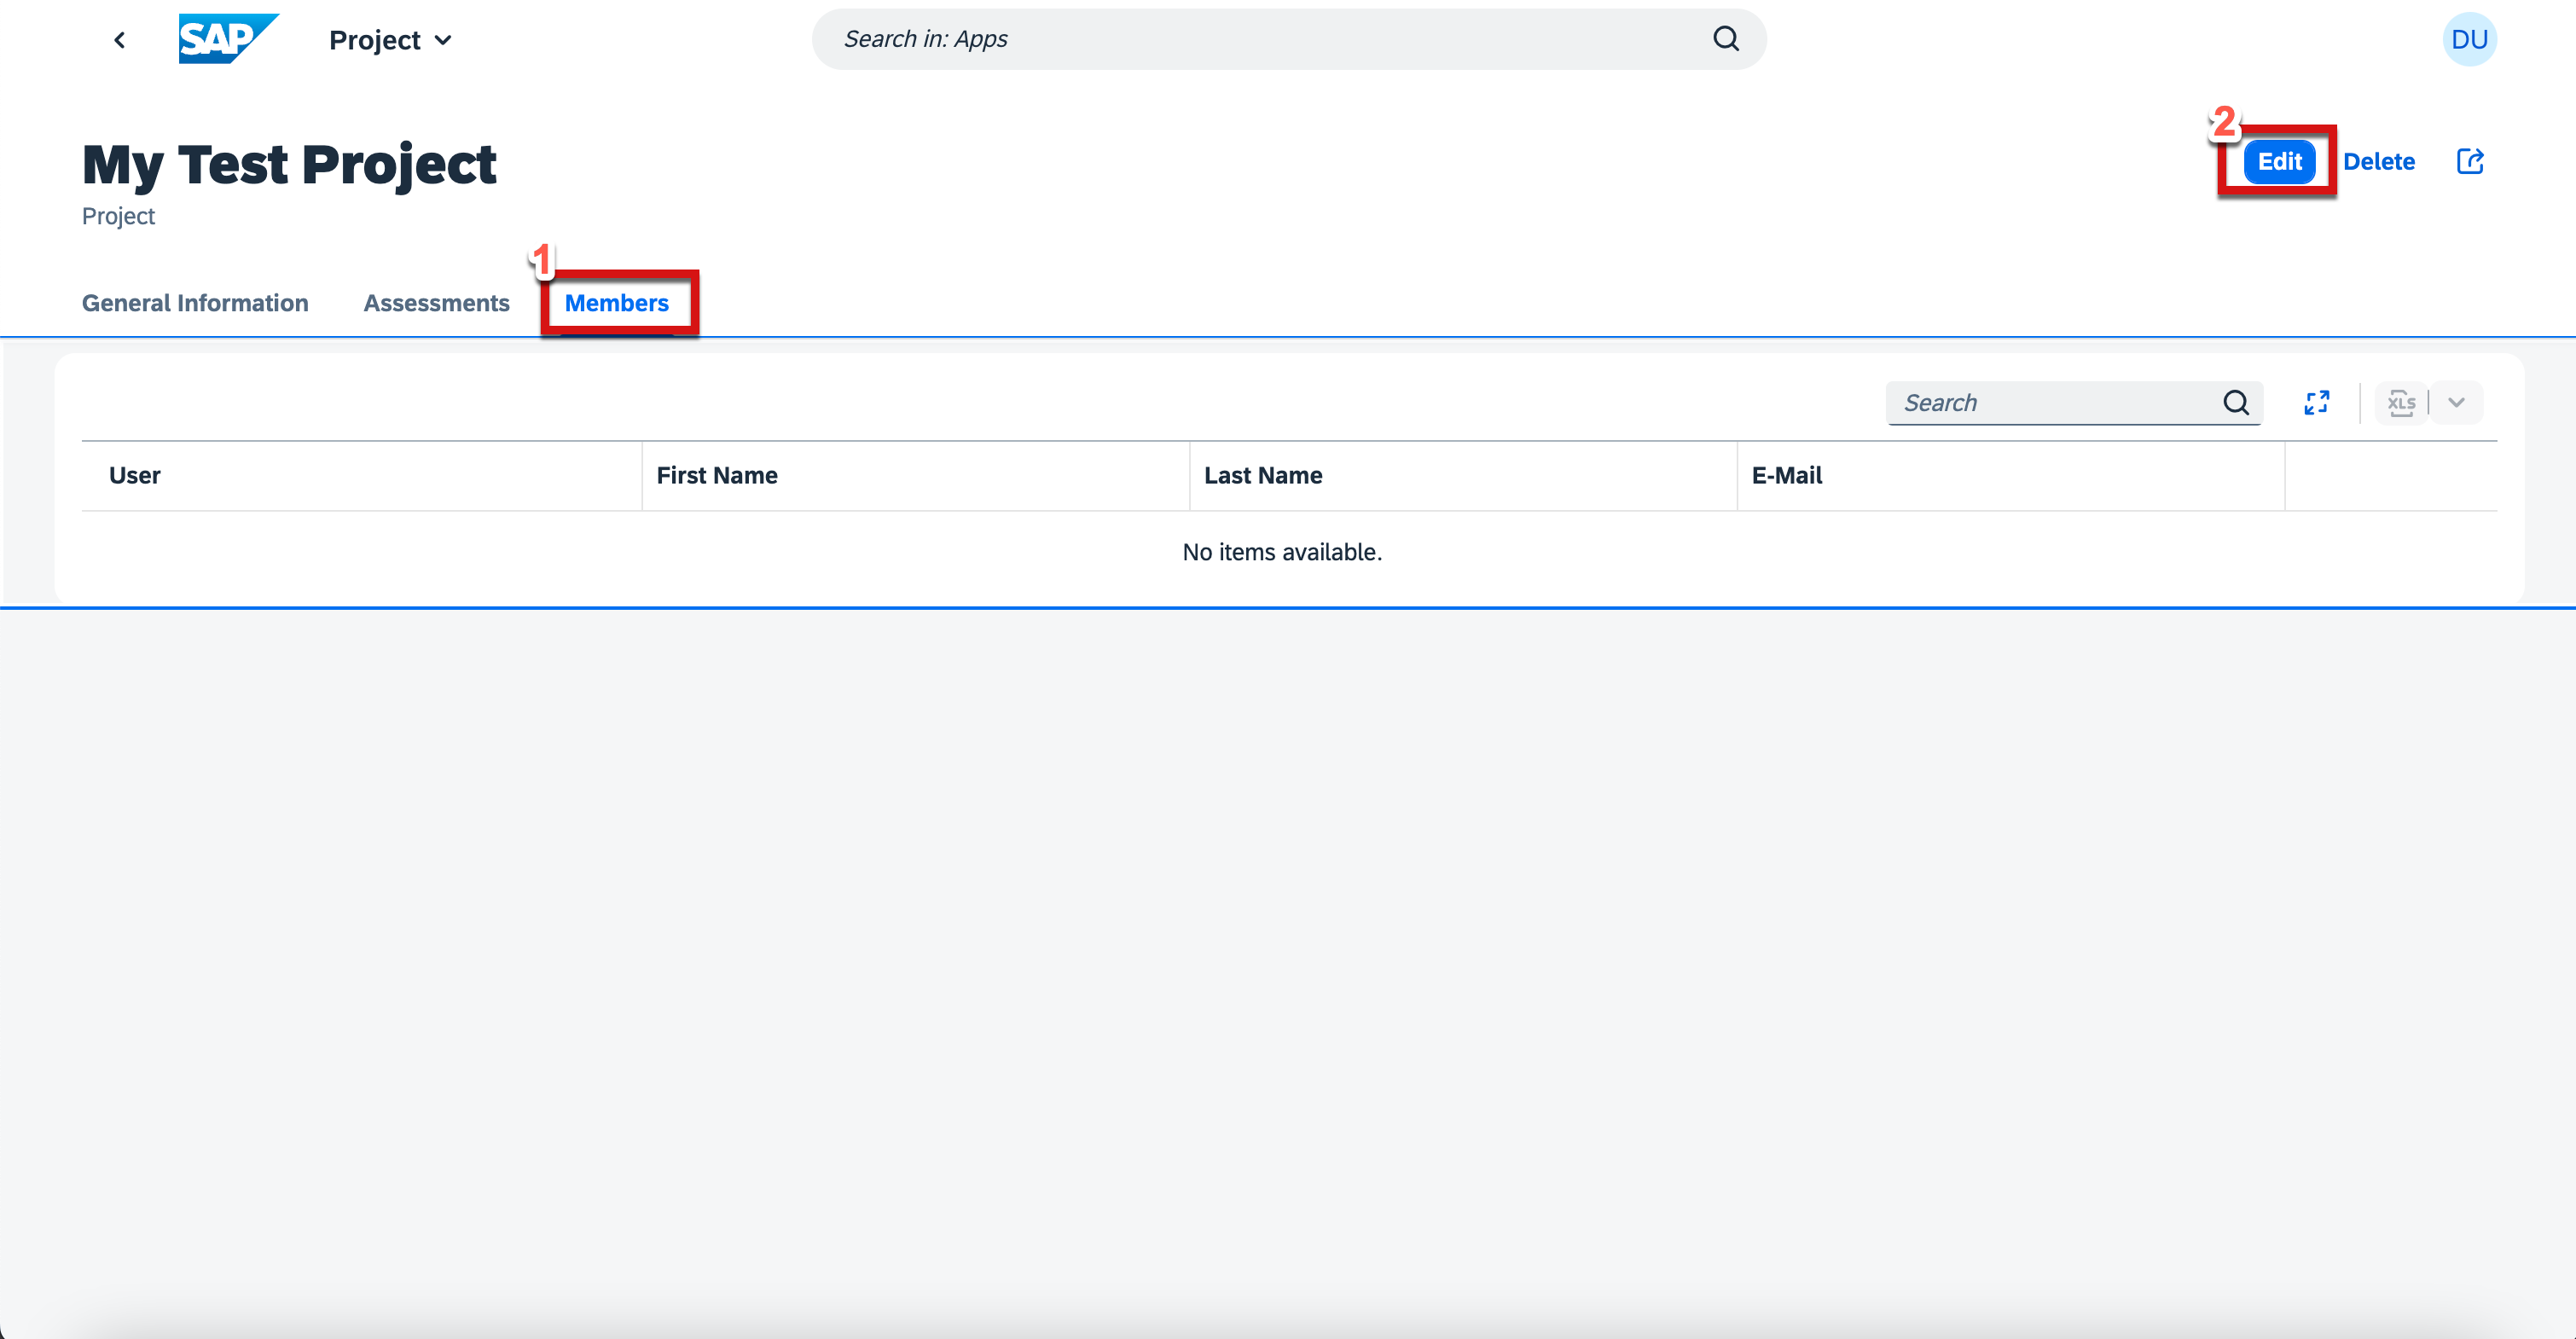 .
.
5.4. Choose a user from the value help and press Save.
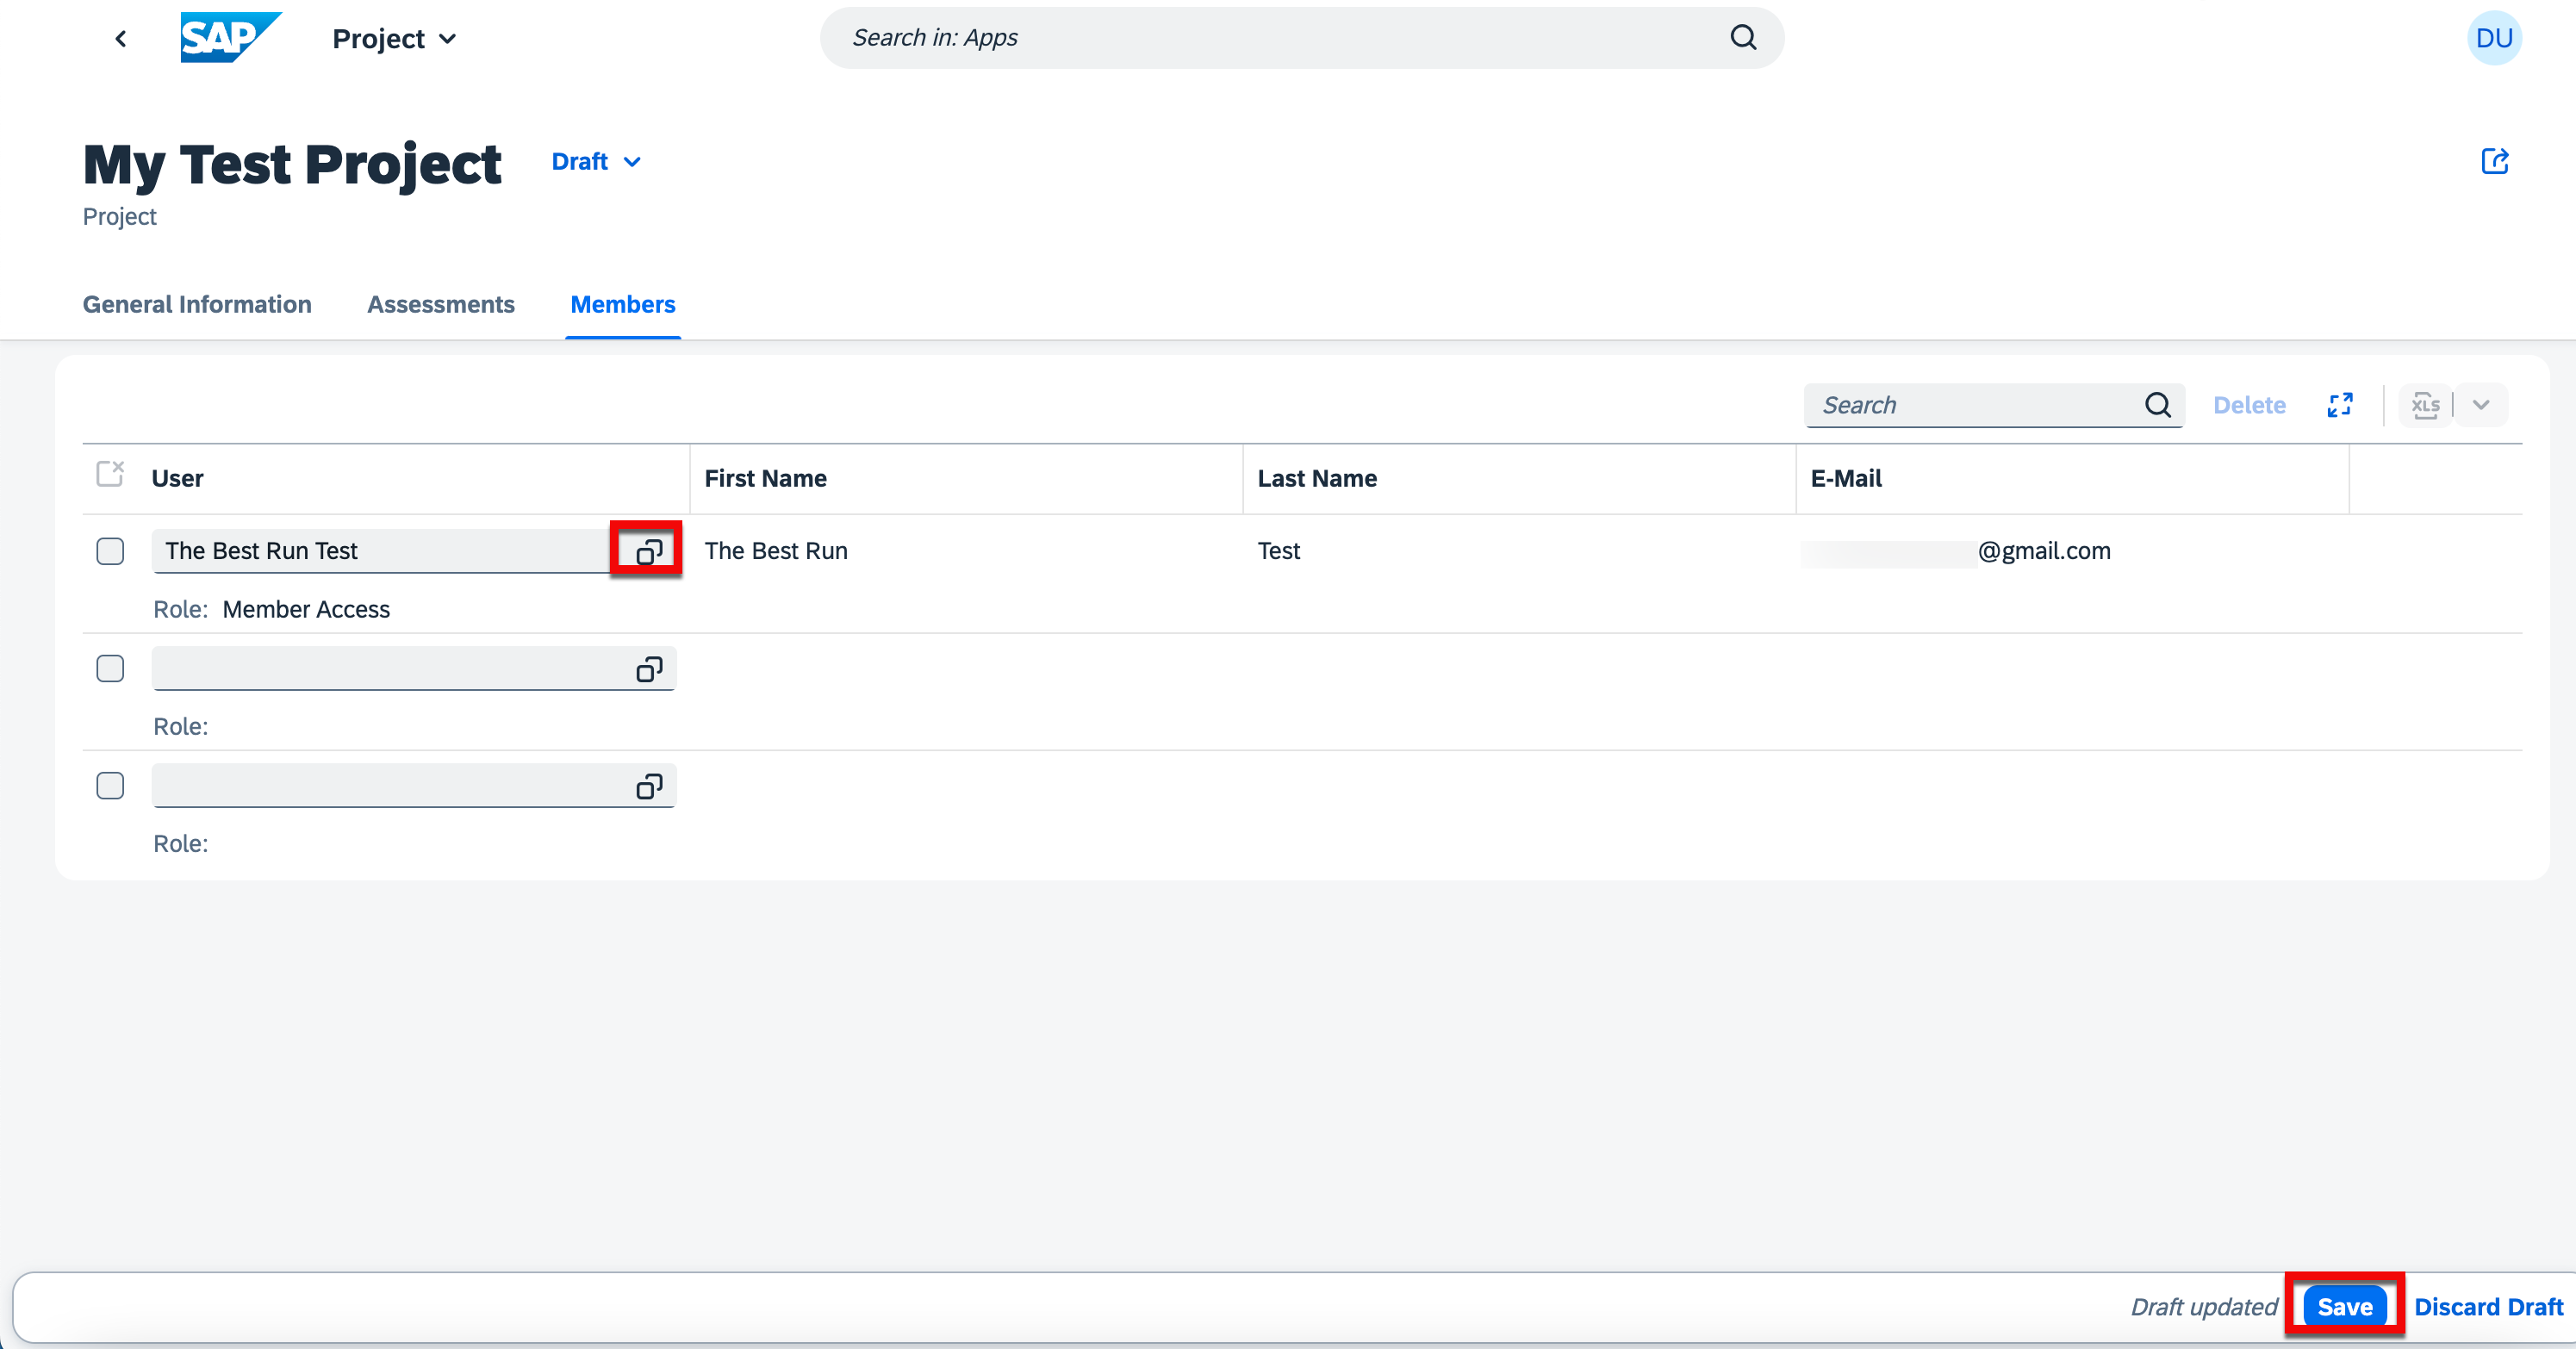 .
.
6. Further Information
Please use the following links to find further information on the topics above:
- Currently no further information is available!